How Do I Use Wasabi Explorer for Windows with Wasabi?
Wasabi Explorer is a free app that enables you to share files between your Windows host and the Wasabi hot cloud storage service. This app is a version of CloudBerry Explorer from MSP360 that has been customized for use with Wasabi hot cloud storage. Wasabi Explorer provides a user interface to your Wasabi storage account by allowing you to access, move, and manage files across your local storage and your Wasabi storage buckets.
Wasabi Explorer’s features include:
- Familiar Windows File Explorer-like user interface
- Compression and encryption
- Ability to access multiple Wasabi storage regions
- Upload rules
- Header editing
- Multi-part uploads
*Note: if you want an app that lets you not only share Wasabi files with your Windows host but also mount your Wasabi buckets as a disk volume on your Windows host, you may wish to consider CloudBerry Drive, a paid app from CloudBerry Lab / MSP360.
In this article we’ll cover the installation instructions for the Windows version of Wasabi Explorer for Cloud Storage. An installation tutorial video is also provided here.
Prerequisites:
- A valid Wasabi storage account and Wasabi API key set
- Minimum Windows OS:
- Windows 7/8/10
- Windows Server 2008 or higher
- Minimum System requirements
- Microsoft .NET Framework 4.0,
- 1.4 GHz 64-bit processor
- 512 MB RAM, 100 MB minimum disk space, Gigabit (10/100/1000baseT) Ethernet adapter
Installation Instructions:
-
First, download the Wasabi Explorer install package (Updated Feb 14th 2022 – v6.2.2.10 Windows only)
-
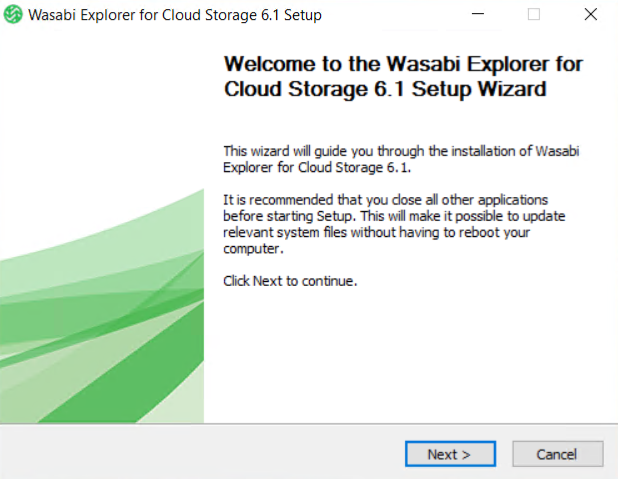
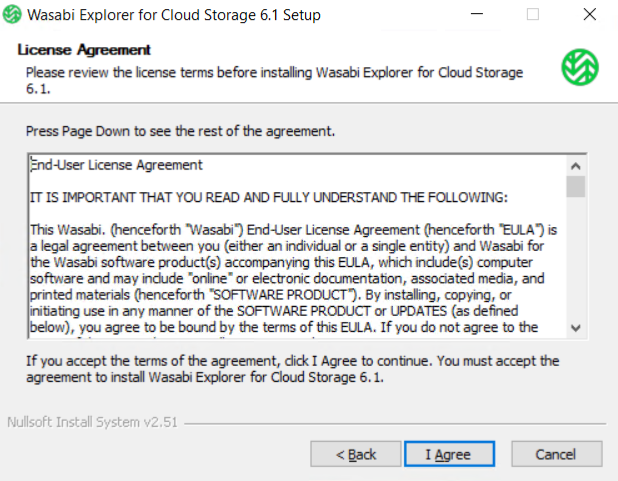
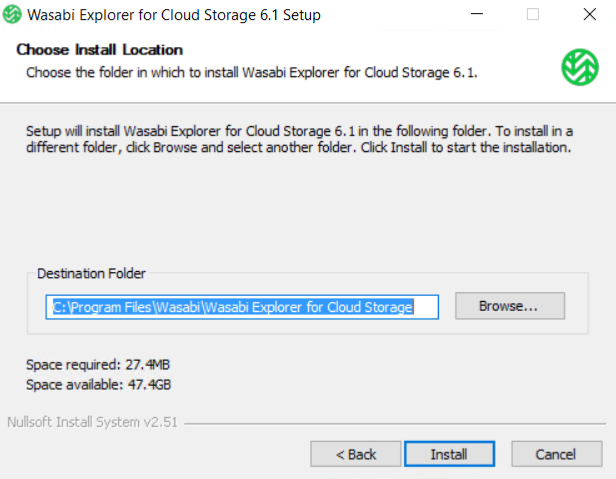
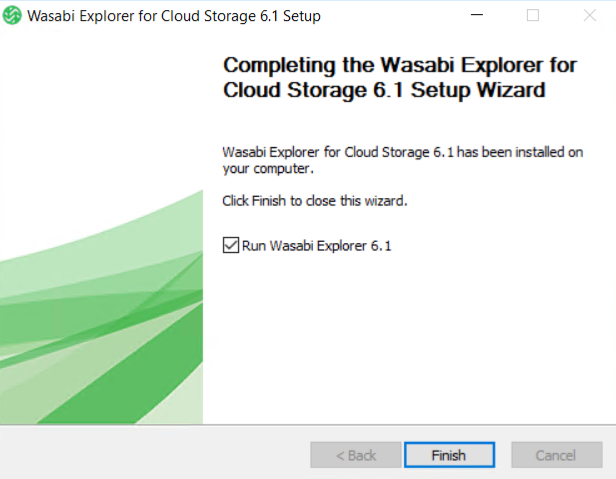
Once your download is complete, install Wasabi Explorer by following the prompts in the installation package. The workflow will look like the images below:
-
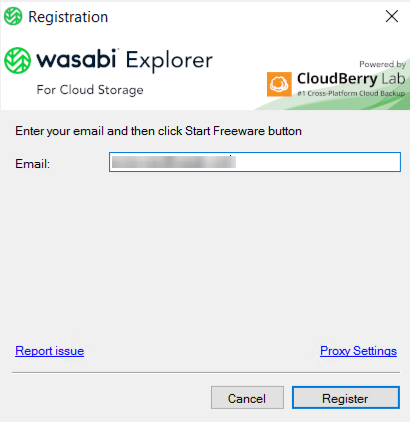
Now that Wasabi Explorer has been successfully installed, we must register the product. When prompted to enter in an email address, you can use the same email used with your Wasabi account.
-
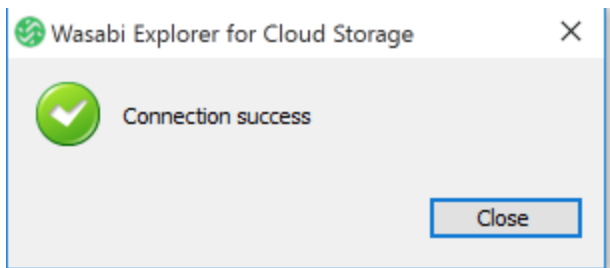
Now, enter a valid access key and secret key from your Wasabi account to connect the Wasabi Explorer application to your storage account.

*Note: You can use the Test Connection button to verify Wasabi Explorer can talk to Wasabi and the API key set is validated. You will receive the Connection Success message if connectivity and key validation is successful.
-
Click OK to close the window.
-
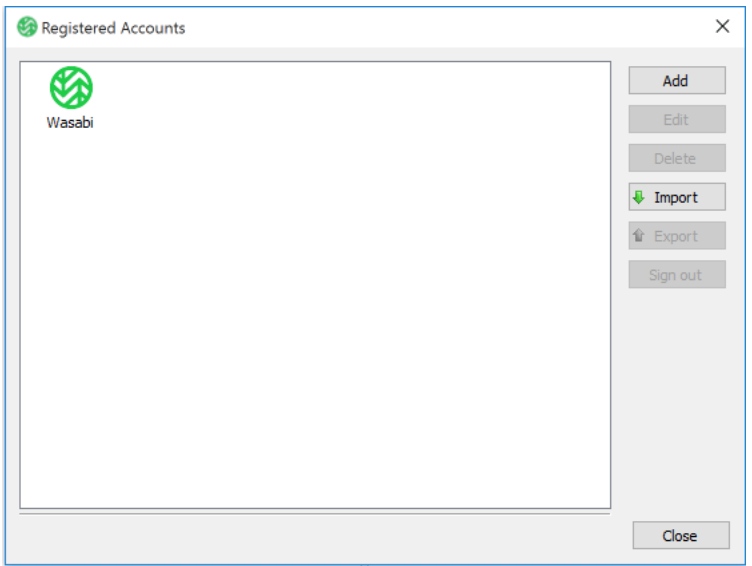
Once the Wasabi connection is built, you will see Wasabi show up on the list of Registered Accounts as shown below:
-
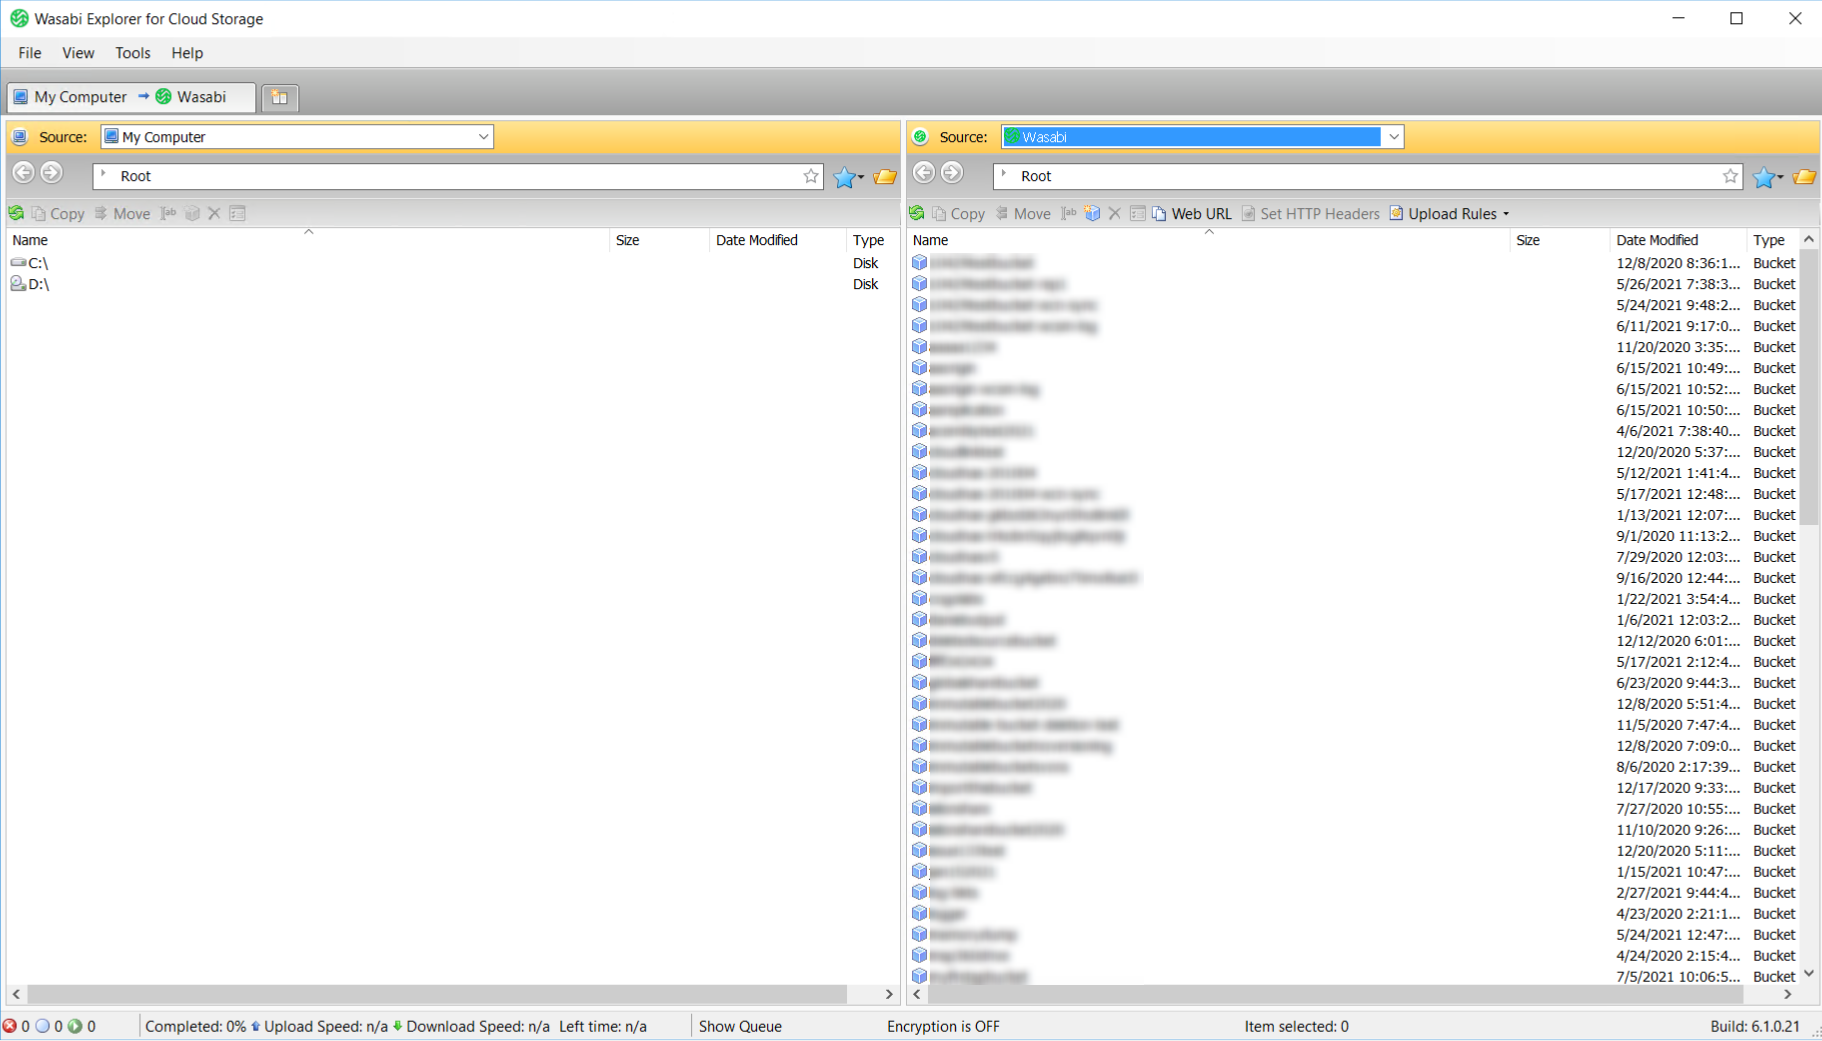
To start using Wasabi Explorer to transfer files from your PC to Wasabi, select My Computer as the Source and Wasabi as the Destination as shown in the example below:
-
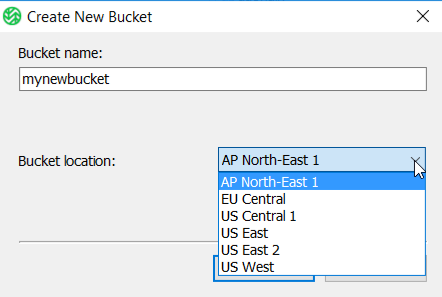
At this point, Wasabi Explorer is ready for use, and all of the existing Wasabi storage buckets are now available. If you wish to create a new bucket, you can do this from the Wasabi storage pane by selecting the blue cube (on the lower right) as shown below:

-
Enter a unique Bucket name and select the appropriate region for the bucket:
And there you have it!
