Transferring data between servers is a common task for system administrators and developers. Whether you’re migrating websites, syncing backups, or moving large files, finding a secure and reliable method is essential. rsync is a powerful command-line tool designed specifically for data synchronization and transfer.
In this guide, I will walk you through everything you need to know about using rsync to transfer data between servers. From its key features to practical examples, you’ll learn how to harness rsync’s capabilities to simplify your data transfer tasks while saving time and bandwidth.
What is rsync?
rsync (short for remote synchronization) is a powerful, open-source command-line utility designed to transfer and synchronize files between systems. It is widely used by system administrators and developers for tasks such as data backups, server migrations, and file synchronization over networks. Unlike basic file transfer tools, rsync offers robust features that make it highly efficient and versatile.
At its core, rsync compares the source and destination files. It identifies changes using a sophisticated delta-transfer algorithm and transfers only the necessary file data. This makes it highly efficient, even for large datasets. It can operate in both local mode (copying files within the same system) and remote mode (transferring files between different systems over a network).
Installing rsync in your Linux Server
The rsync package may not be available on your server and might require installation.
- Login to the servers that you wish to transfer data to and from.
- Run the command
rsync -Vto determine whether the package is installed.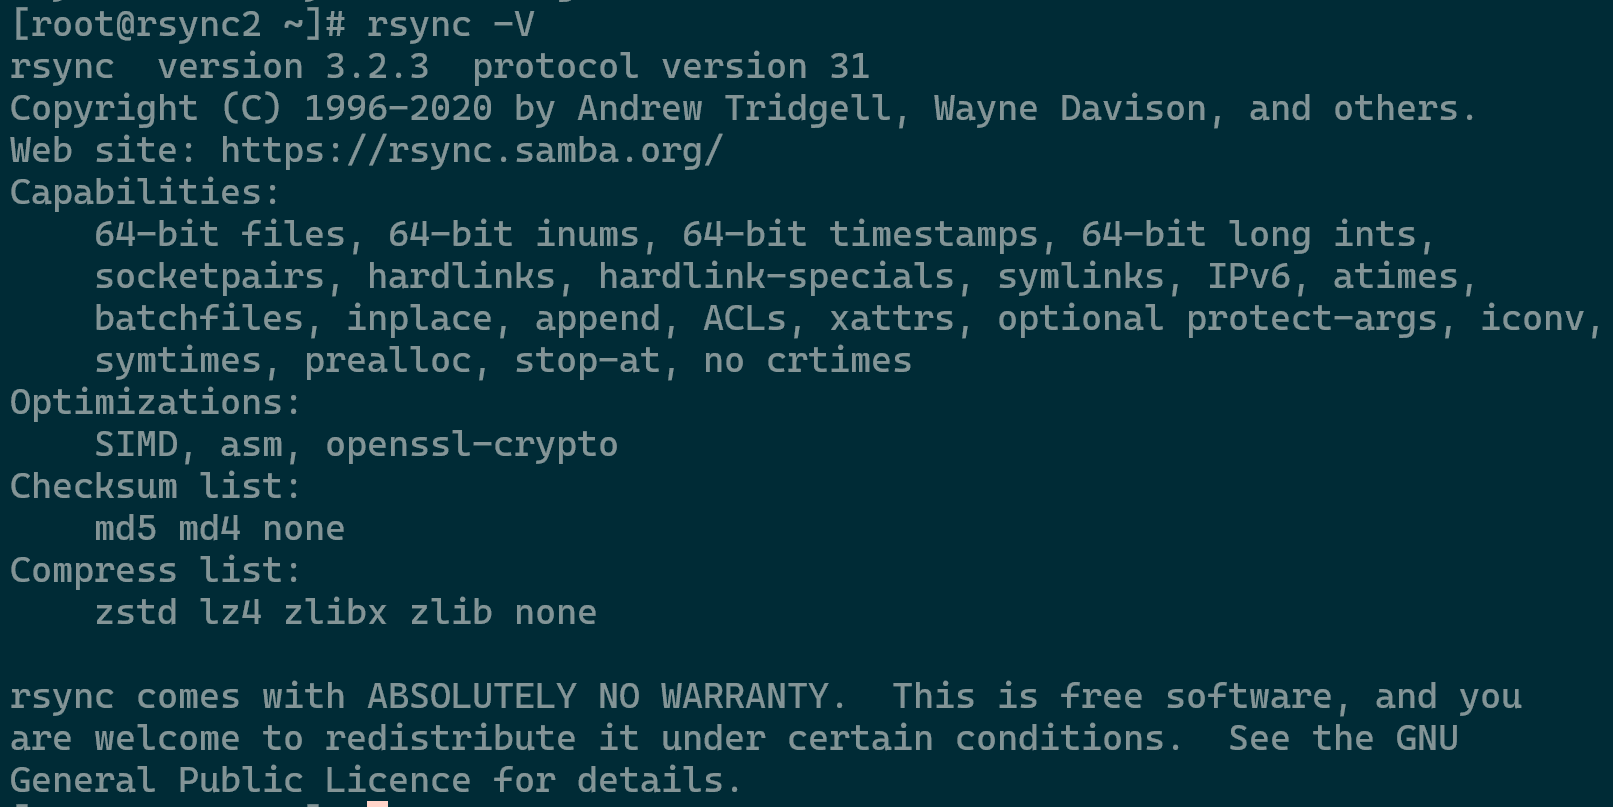
rsync Version Check - Run the command
yum install rsyncto proceed with installing the package. The command might change based on your Linux distribution.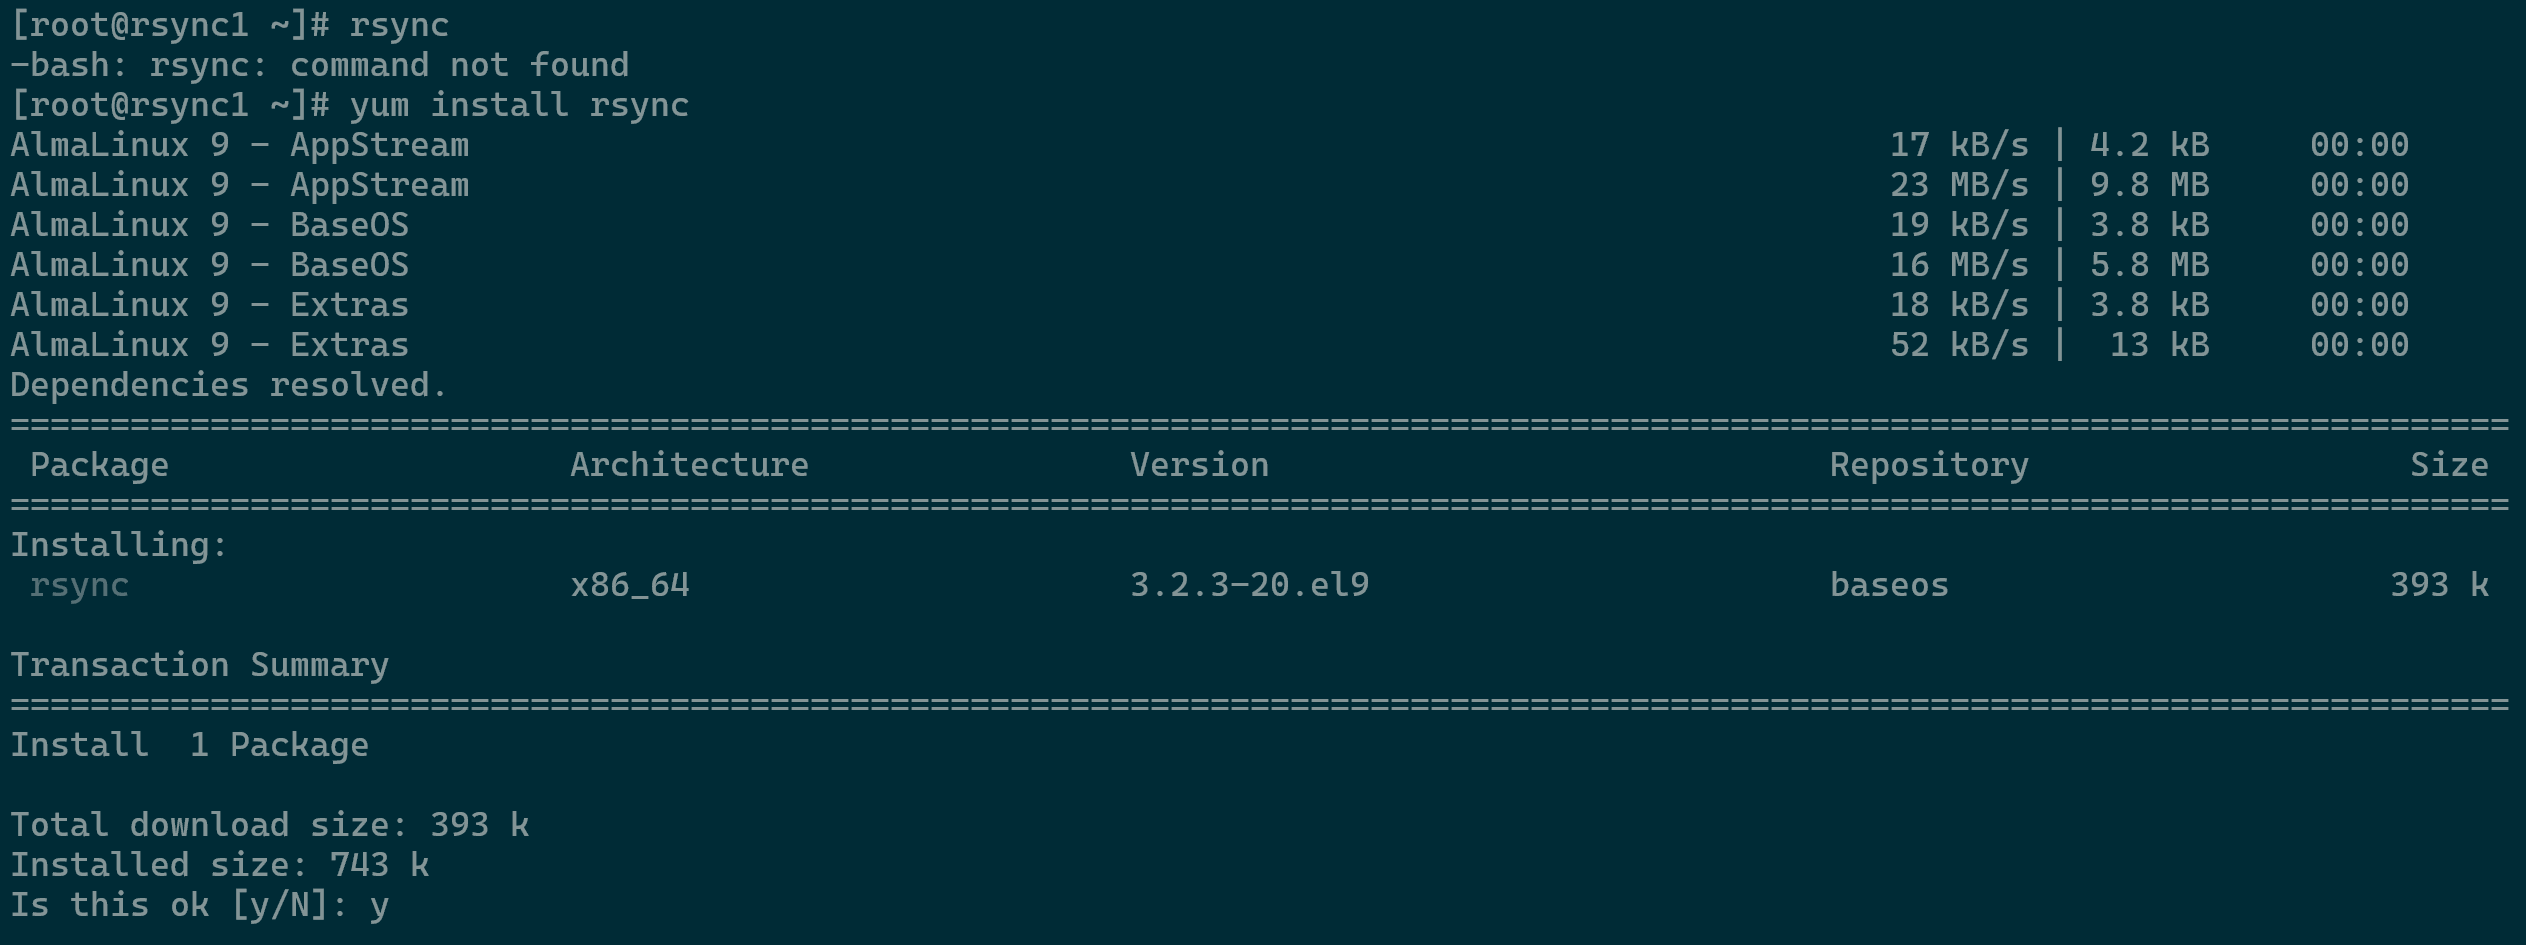
Installing rsync Package - Once installation is complete the prompt will display the following to confirm full installation.
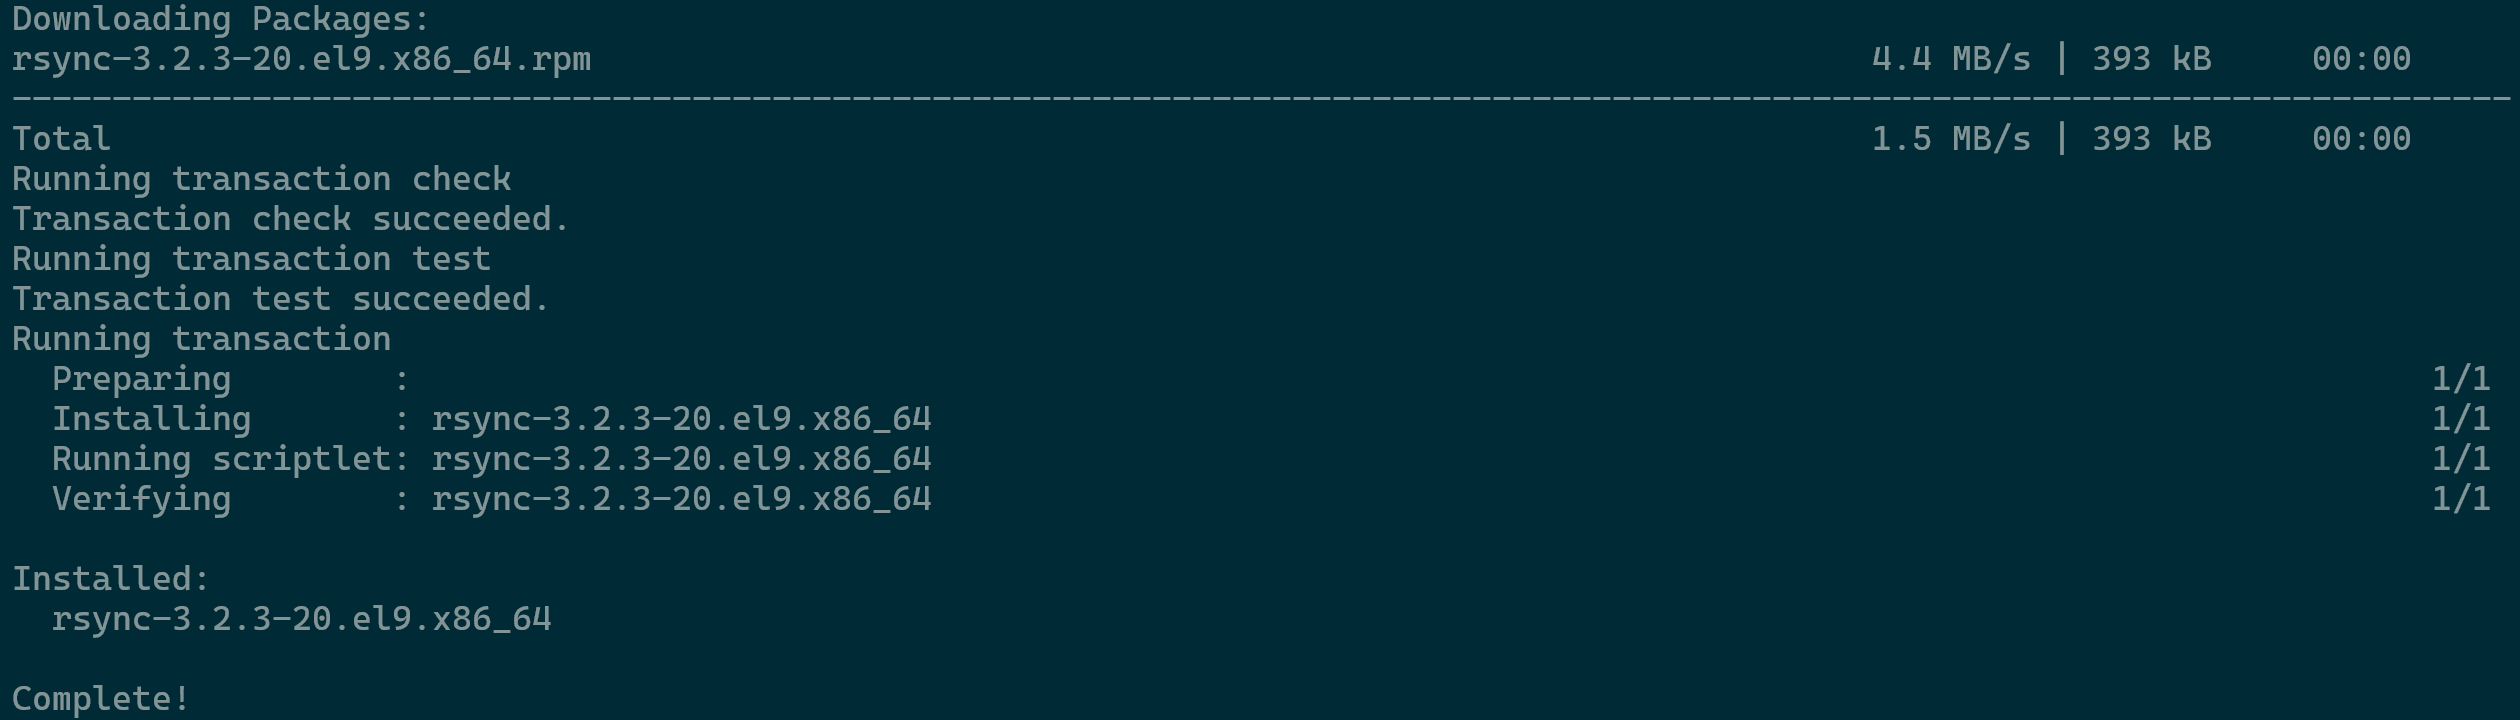
rsync Package Installation Complete
Method 1 – Transferring Data Locally
Use rsync to move files between directories on the same machine while preserving permissions and timestamps. This method is ideal for quick, reliable replication without the overhead of a network connection.
Moving a 512MB zip file from directory to another on the same local system can be done with the following command structure and example:
rsync [FLAGS] [SOURCE_PATH] [DESTINATION_PATH]
The command we will use, rsync -azvh --progress /rsync1/512MB.zip /rsync2/
- -a flag perserves permissions and flags.
- -z flag compresses data for faster transfer.
- -v flag for a verbose output.
- -h flag for human readable values, such as MB/GB instead of KBs.
- –progress flag will display the process progression.

Method 2 – Transferring Data to a Remote Server
Sync files from your local machine to a destination server over a network. By only transferring incremental changes and utilizing compression, rsync minimizes bandwidth usage while maintaining data integrity at the destination. Note that Bi-directional IP whitelisting and server credentials are required for a successful server-to-server data migration.
Moving a 512MB zip file to a remote server can be done with the following command structure and example. Ensure to run this command on the source server containing the file/directories you wish to transfer from.
rsync -azvhe 'ssh -p [PORT]' --progress [SOURCE] [USER]@[IP]:[DESTINATION]
The command we will use, rsync -azvhe 'ssh -oPort=22' --progress /rsync1/512MB.zip 74.115.172.39:/rsync_target
- the -e flag and ssh portion allows to customize the SSH port that is used on the target server.
- For this example, it is port 22 but will require adjusting as per your configuration.

Method 3 – Transferring Data from a Remote Server
Retrieve data from a target server to your local system. This approach ensures your local copy matches the remote source accurately and efficiently. Note that Bi-directional IP whitelisting and server credentials are required for a successful server-to-server data migration.
Moving a 512MB zip file from a remote server can be done with the following command structure and example. Ensure to run this command on the target server you wish to transfer the files to.
rsync [OPTIONS] -e 'ssh -p [PORT]' [USER]@[REMOTE_IP]:/[REMOTE_PATH] [LOCAL_DESTINATION]
The command we will use, rsync -azvhe 'ssh -oPort=22' --progress 74.115.172.39:/hivelocity/512MB.zip /rsync_receive

Tips & Tools
Understanding Transfer Paths
Use the following table to understand where to run each command if necessary.
| Transfer Method | Direction | Run Command on | Role of the Other Server |
| Local Transfer | Source Folder >> Destination Folder | The Local Machine | N/A (Same system) |
| Push to Remote | Local >> Remote Server | Source Server | Acts as the Target (receiving files) |
| Pull from Remote | Remote Server >> Local | Destination Server | Acts as the Source (providing files) |
Trailing Slash Concerns
A common issue with trailing slashes can happen if used incorrectly.
rsync /src/foo /dest/ – will create a directory named foo inside dest.
rsync /src/foo/ /dest/ – will copy the contents of foo directly into dest without creating the foo subdirectory.
Dry Run
Before moving large amounts of data, add the -n or --dry-run flag. It will show you exactly what would happen without actually moving any data.
rsync Command Generator
A highly recommended tool to create an rsync command as necessary can be accomplished via https://www.rsyncinator.app/web.
— Written by Pascal Suissa