What is IIS?
IIS, or Internet Information Service, is a web server designed to work with the Windows operating system. Using HTTP protocol, it helps direct user requests online to their target’s specific TCP ports.
Installing IIS
Since IIS is a feature integrated into Windows, installing it is very easy to do. To install IIS 8 on Windows Server 2012, follow the instructions below:
- First, log in to your Windows server with the administrator user using Remote Desktop
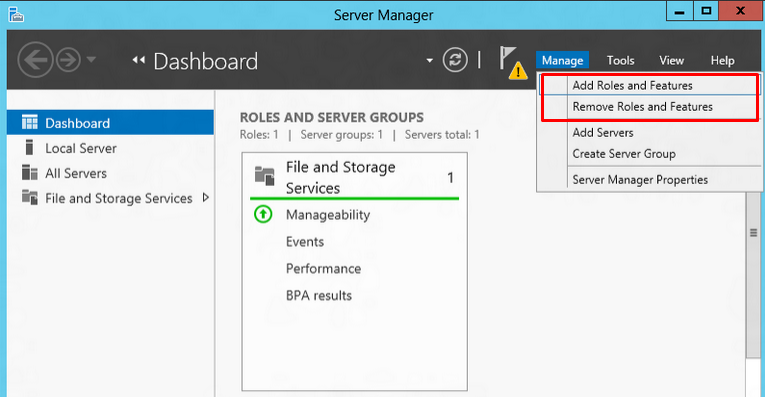
- Open Server Manager
- Under the “Manage” menu, select “Add Roles and Features“
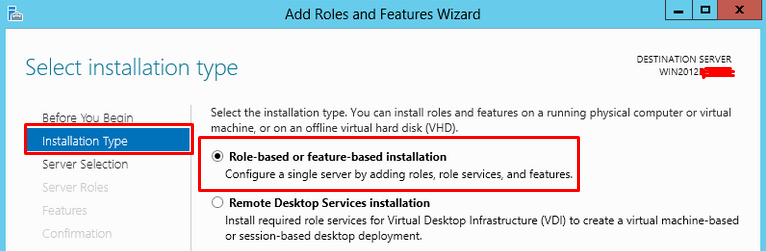
- Select “Role-based or Feature-based Installation“, then click “Next“
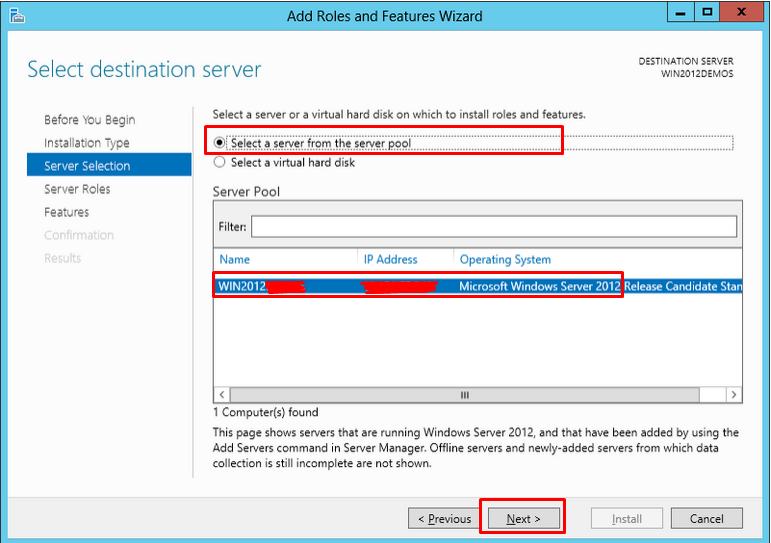
- Select the appropriate server (we are installing IIS on a local server so keep the local selected by default), then click on “Next“
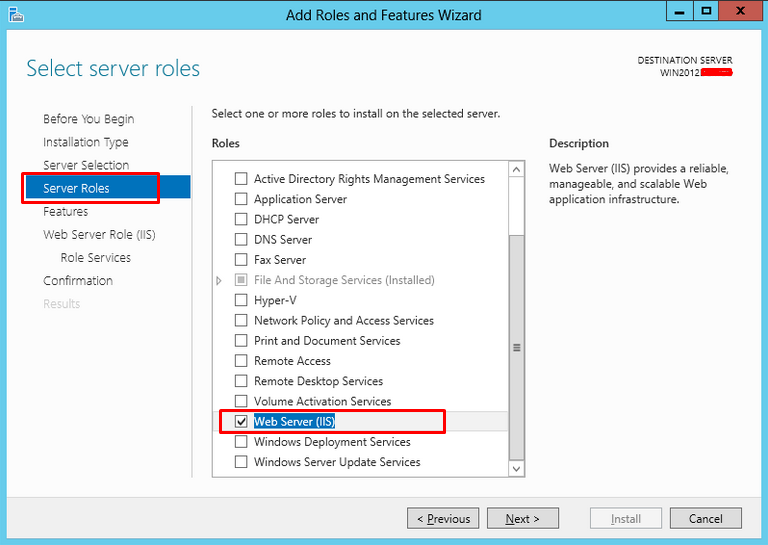
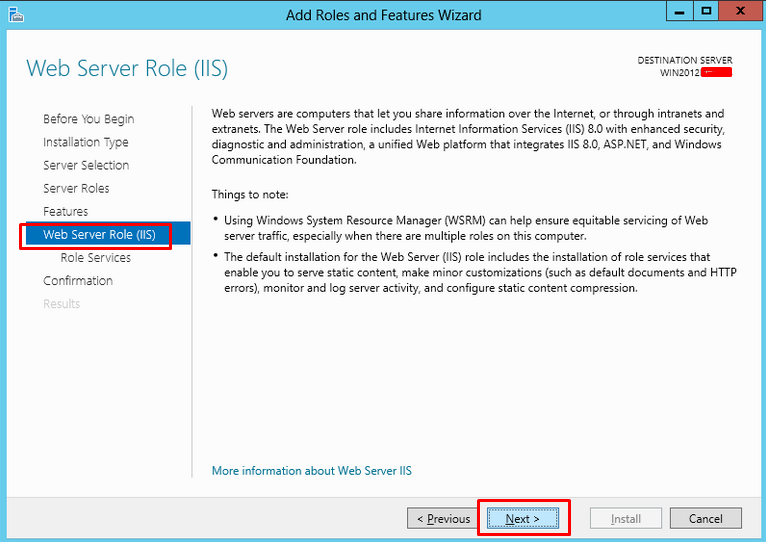
- On the Select server roles screen, scroll down the list and select “Web Server (IIS)“. Click “Next“
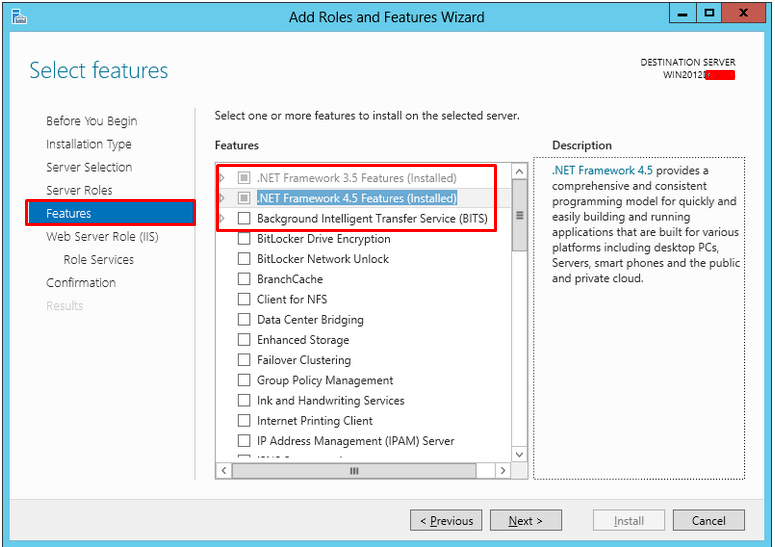
- On the next screen, the default features will already be selected. There are no additional features needed for IIS, so you can just click “Next“
- After looking over the information screen, click “Next“
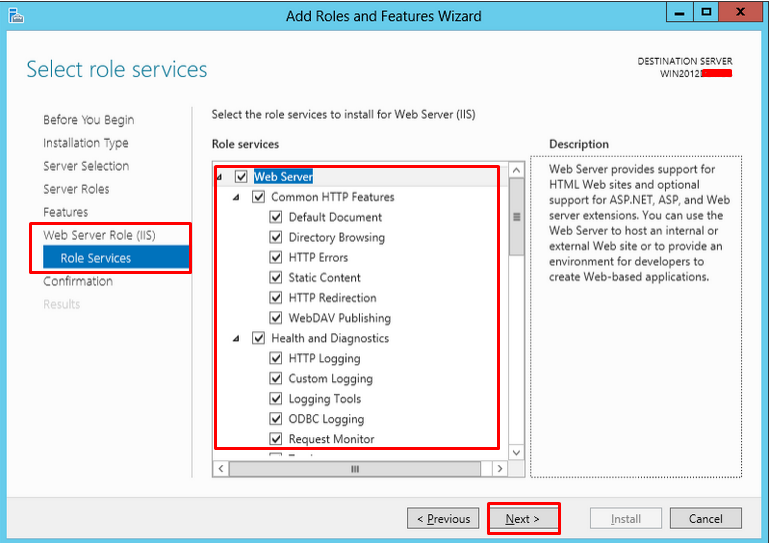
- On the next screen, you’ll be given options to customize the IIS installation or simply keep the default settings as is. After making any desired selections, click “Next“
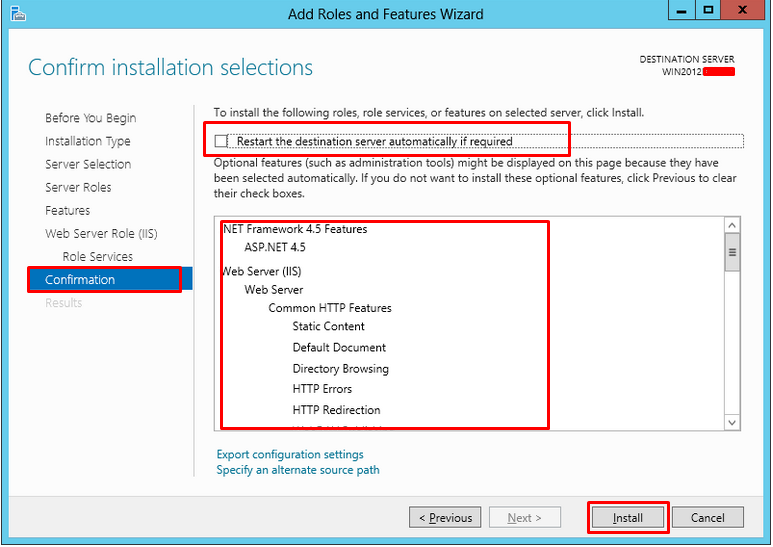
- On the confirmation screen, click “Install“
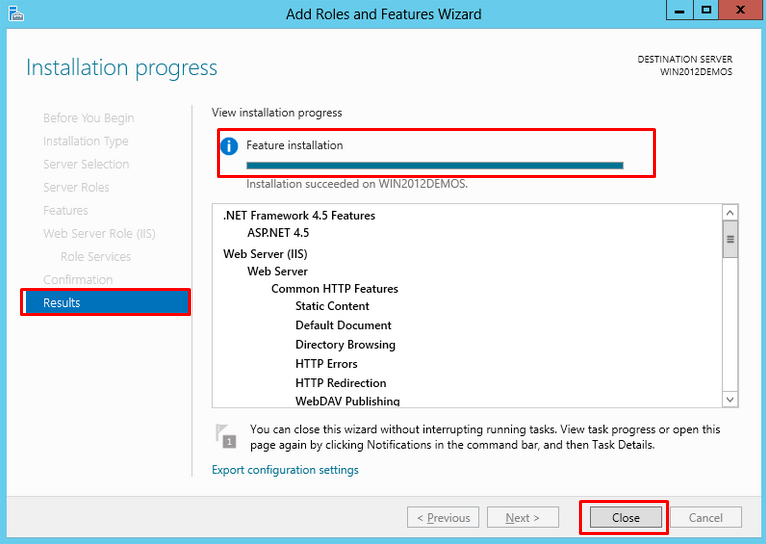
- On the next screen, you will see a progress bar showing IIS installation has completed.
And there you have it! Now you know how to install IIS 8 on your Windows Server 2012.
Popular Links
Looking for more information on Windows? Search our Knowledge Base!
Interested in more articles about Operating Systems? Navigate to our Categories page using the bar on the left or check out these popular articles:
- How to Check the Apache Version on a Linux Dedicated cPanel Server
- How to Change a Password in Linux
- How to Check if Your Linux Server is Under DDoS Attack
Popular tags within this category include: Linux, Windows, Apache, CentOS, Debian, Fedora, RedHat, and more.
Don’t see what you’re looking for? Use the search bar at the top to search our entire Knowledge Base.
The Hivelocity Difference
Seeking a better Dedicated Server solution? In the market for Private Cloud or Colocation services? Check out Hivelocity’s extensive list of products for great deals and offers.
With best-in-class customer service, affordable pricing, a wide-range of fully-customizable options, and a network like no other, Hivelocity is the hosting solution you’ve been waiting for.
Unsure which of our services is best for your particular needs? Call or live chat with one of our sales agents today and see the difference Hivelocity can make for you.
