When work is being performed on your system’s drives, depending on your setup and servers, Hivelocity’s techs may potentially need to identify the correct drive bay before proceeding. Drive bays in your system will have indicator lights to help indicate when data is being read/written on them and when an error might be occurring. Thankfully, there are multiple ways to determine which is the correct drive bay before pulling it out. In this article, we’ll cover two methods to turn your drive bay’s LED on.
Procedure
The following sections will provide you with the information and commands for two methods of turning on your drive bay’s LED to assist the tech support team with identifying the correct drive bay.
LEDMON – LEDCTL Method
This method involves installing the ledmon package and then using its ledctl utility. *Note: this will only work with functioning storage devices and only momentarily.
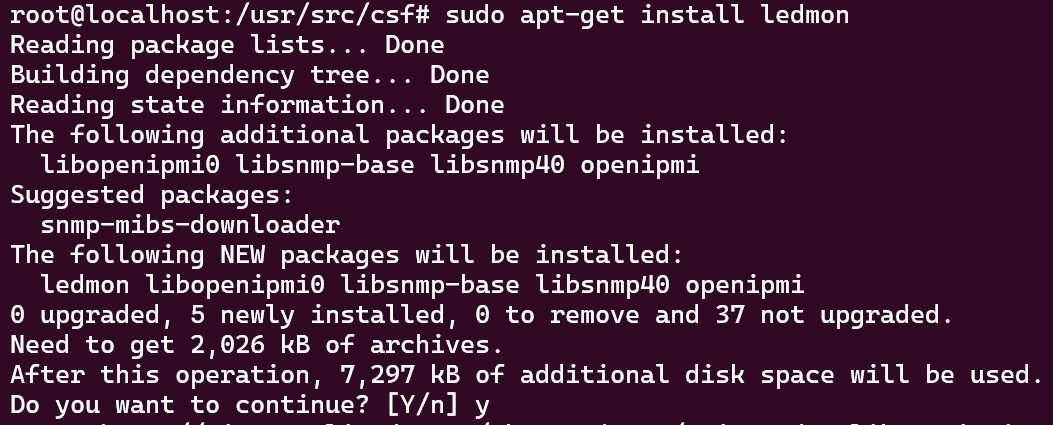
- Install ledmon package with your package manager (*Note: your package manager will be different here depending on which OS you’re running).
sudo apt-get install ledmon
- Next, trigger the LED on the drive bay using the following command:
sudo ledctl locate=/dev/sda
*Note: In this instance “/dev/sda” is used, but this will need to be changed to the specific drive you’re turning the LED on for.
- To trigger multiple bay’s LEDs, use the following command.
sudo ledctl locate={ /dev/sda /dev/sdb }
*Note: In this instance “/dev/sda” and “/dev/sdb” are used, but this will need to be changed to the specific drives you’re turning the LEDs on for.
DD Method
This method involves using the dd utility’s write capabilities. *Note: this will only work with functioning storage devices. The process involves using dd to create and write an image of a specific drive into /dev/null (which is a file/device that will discard anything that is written to it), essentially transferring data from the drive of choice into a blackhole just to force the LED light to flash.
- To start, begin writing data from the drive of choice using the following command:
sudo dd if=/dev/sda of=/dev/null
*Note: the screen will not display an output but it is working as the command-line will not allow you to interact with it until the process is complete. The process will stop once the copying process is done or when ctrl+C has been pressed to cancel the process as mentioned in the next step.

- Once the drive bay has been detected, cancel the operation using ctrl+C before drive removal.
– written by Pascal Suissa
