Setting Up Wasabi Cloud Storage
- First, go to https://console.wasabisys.com/#/login and log in.
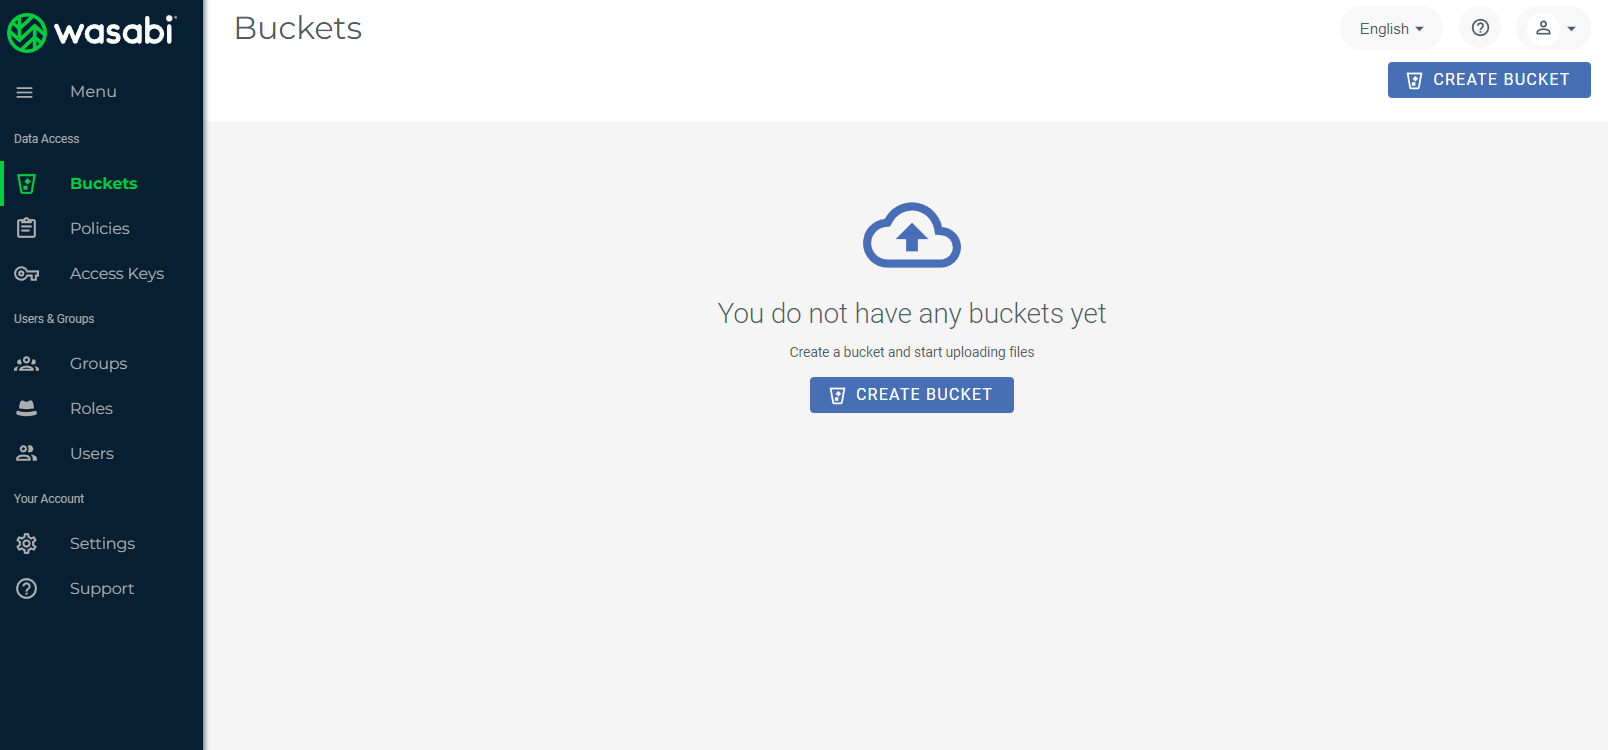
- When you log in to Wasabi the interface will look like the screenshot below. Although you have many options, the 1st thing you have to do is create a bucket to use the storage.
- During creation you have to name your Bucket and Select a Region.
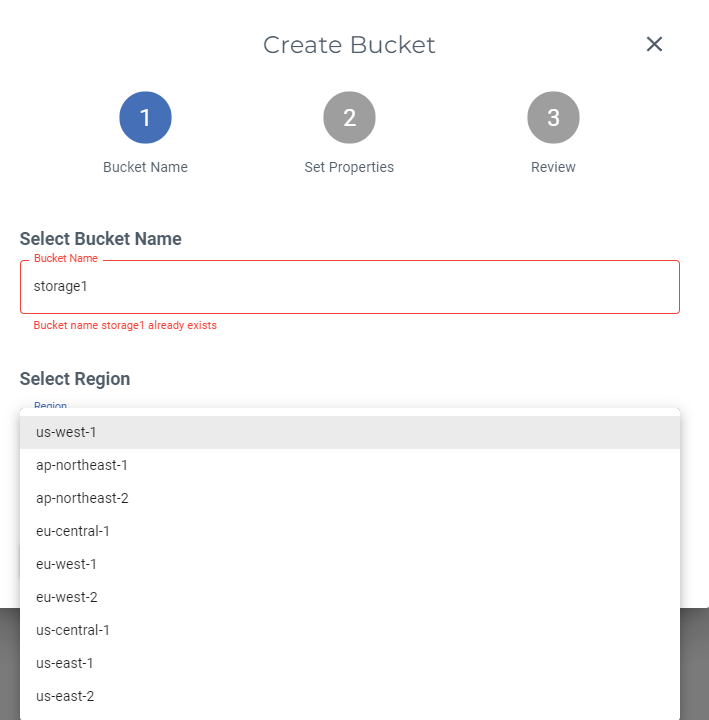
- The bucket has to be unique to avoid errors, so enter a unique name in the Bucket Name field shown above.
- Select the closest region to the server that will be using it or ask the client via ticket if you are unsure.
- us-west-1 – Oregon
- ap-northeast-1 – Toykyo
- ap-northeast-2 – Osaka
- eu-central-1 – Amsterdam
- eu-west-1 – London
- eu-west-2 – Paris
- us-central-1 – Plano, Texas
- us-east-1 – North Virginia
- us-east-2 – North Virginia
- The bucket has to be unique to avoid errors, so enter a unique name in the Bucket Name field shown above.
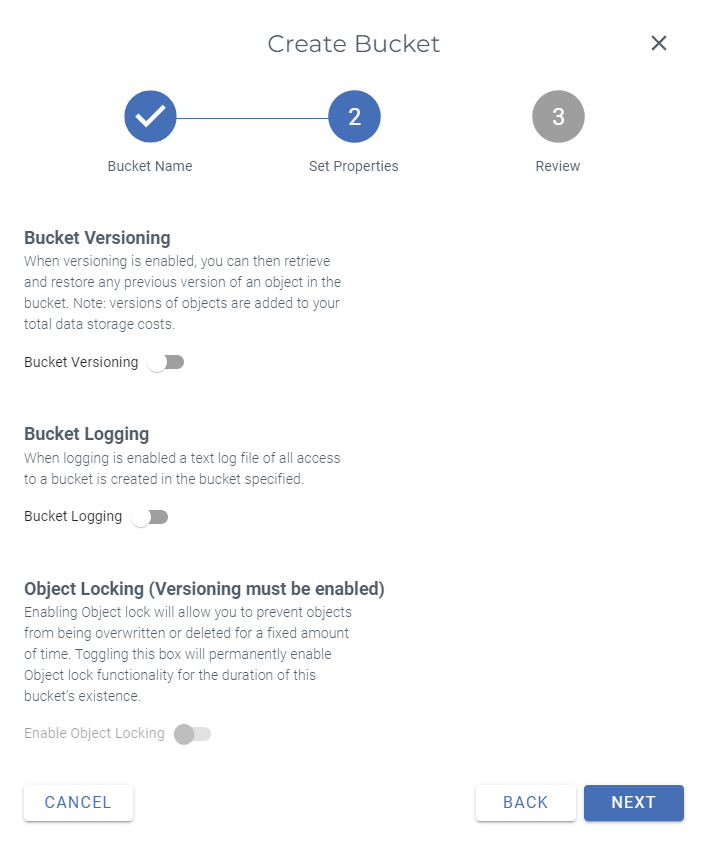
- Next, in Step 2, Set Properties, leave all options off, and click Next.
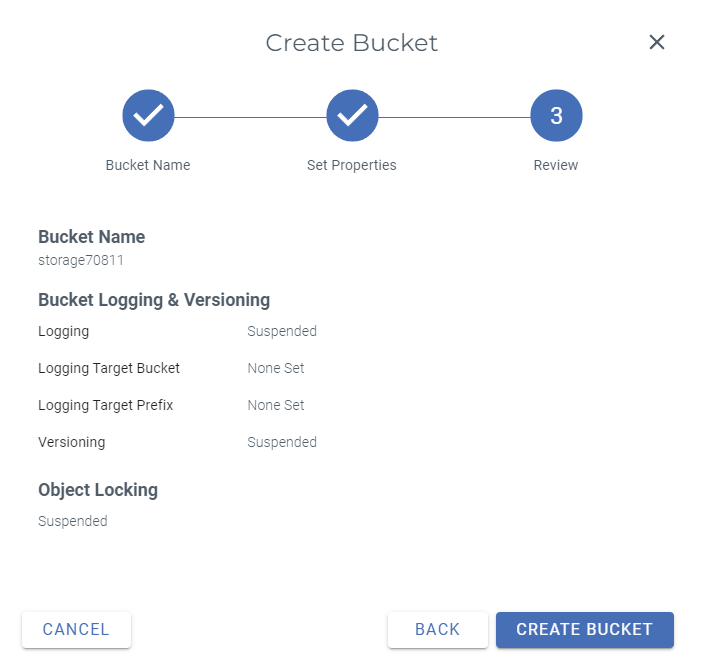
- Step 3 is to Review your selections. If everything looks correct, click Create Bucket.
- After creating your new bucket it will look like this:

- Now, click the bucket name and go to Policies.
- You can look at Sample Policies on the left.
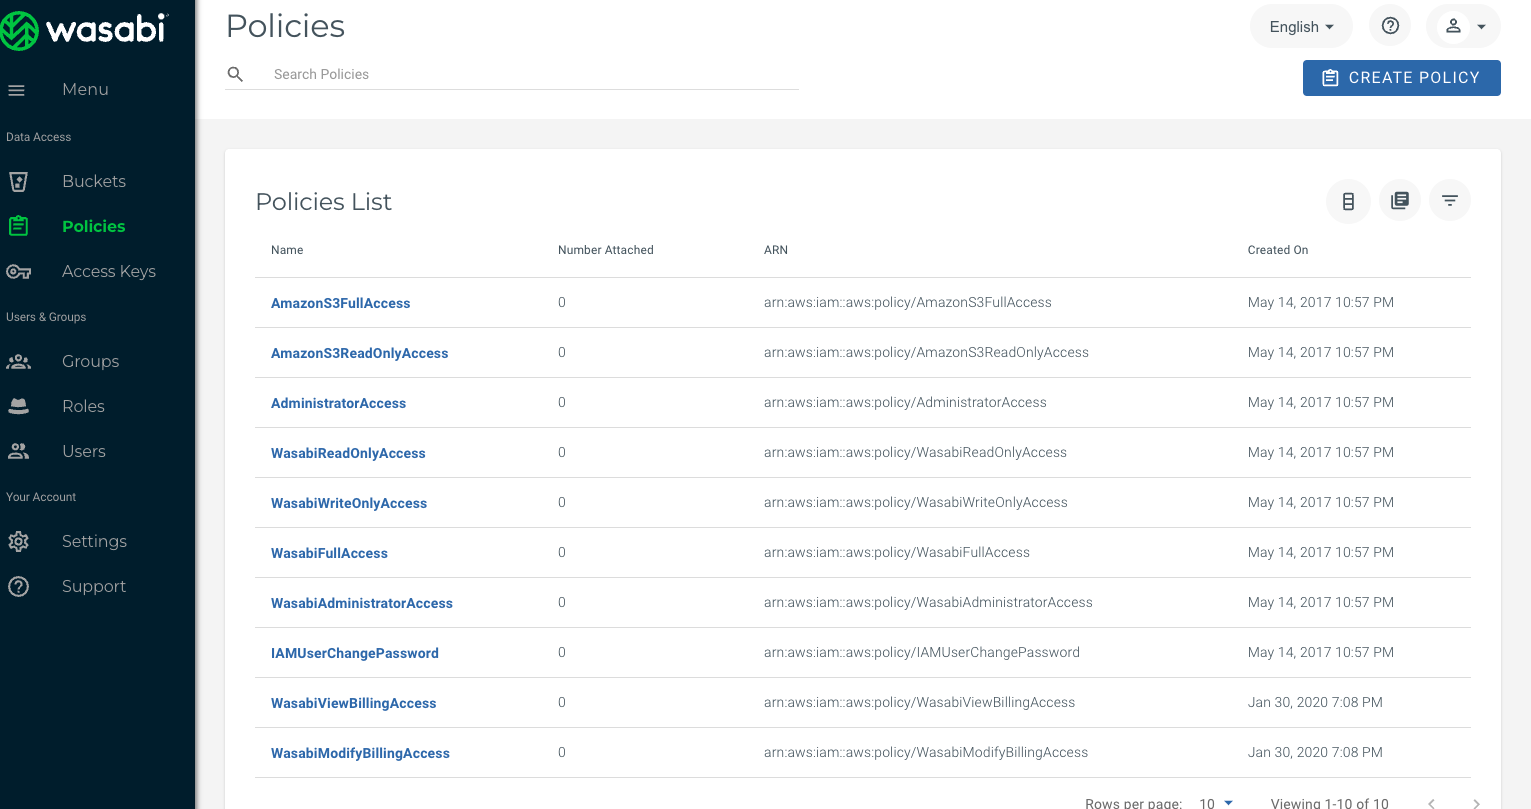
- Setup a policy for your bucket. This is Full Access:
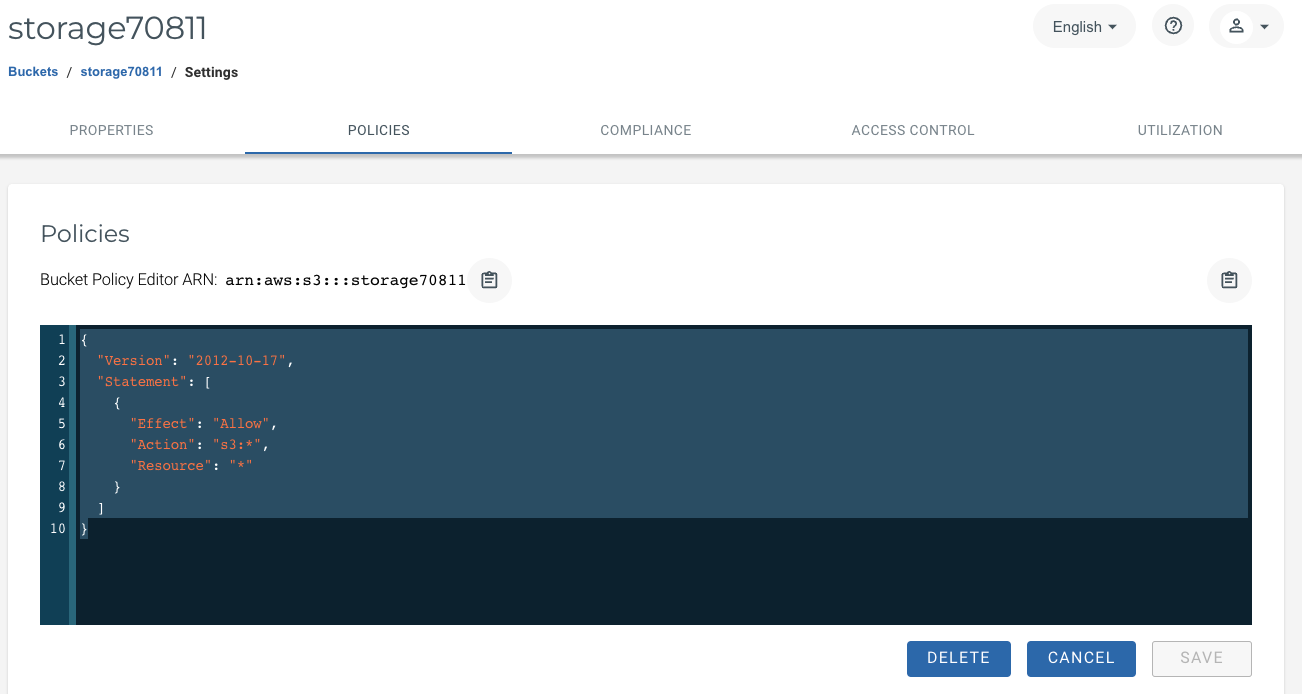
- Give permission to the bucket:
{
“Version”: “2012-10-17”,
“Statement”: [
{
“Effect”: “Allow”,
“Action”: “s3:“,
“Resource”: ““
}
]
}
- Give permission to the bucket:
- Once your permissions are set, you’ve successfully set up storage in Wasabi.
Disabling / Enabling Public Access
To ensure that your new bucket has public access disabled or to enable public access for buckets you want to have accessible to anyone:
- On your Bucket List, click on the 3 vertical dots to the right of your bucket under the Actions column, and select Settings.
- On the Properties panel, find the option for Public Access Override and open the drop-down menu.
- Click the switch labelled Turn on override. This will override the bucket’s policies to allow for the enabling/disabling of public access.
*Note: To undo and return the bucket to its default policy, click the switch again to Turn off override.
- Once override is enabled, click the radial buttons below to either Enable Public Access or Disable Public Access depending on your desired outcome.
- Once you’ve finished, return to your Bucket List. You should now see the status under the Public Access column listed as either Enabled or Disabled, depending on your selection.
Now that your bucket is created and your policies are set, the next step is to set Wasabi up on your server.
