In this guide we’ll be covering the process to install PIP on CentOS 7 using the command line. By following these 7 simple steps, you can install PIP quickly and easily.
What is PIP?
PIP stands for Pip Installs Packages. It is a package manager for the Python programming language that allows you to download and install Python packages and their dependencies on a Linux system. It is similar to a Linux distribution’s package manager, but it is specifically designed for Python packages. PIP can be installed on any major Linux distribution and is available for both Python 2 and Python 3. Once installed, PIP can be used on the command line to download and install Python packages and their dependencies.
Installing PIP on CentOS 7
To begin, you first need to log in and connect to your server via SSH. See here for common SSH clients:
SSH client utilities (Free):
PuTTY:
https://www.chiark.greenend.org.uk/~sgtatham/putty/latest.html
Bitvise SSH client:
https://www.bitvise.com/ssh-client-download
KiTTY:
https://www.9bis.net/kitty/
MobaXterm (Free with available Paid Pro version):
https://mobaxterm.mobatek.net/
SmarTTY:
https://sysprogs.com/SmarTTY/
Solar-PuTTY (Free with available paid versions):
https://www.solarwinds.com/free-tools/solar-putty
There are many others available out there as well.
- Next, log in to your CentOS 7 server with root user using your favorite SSH client
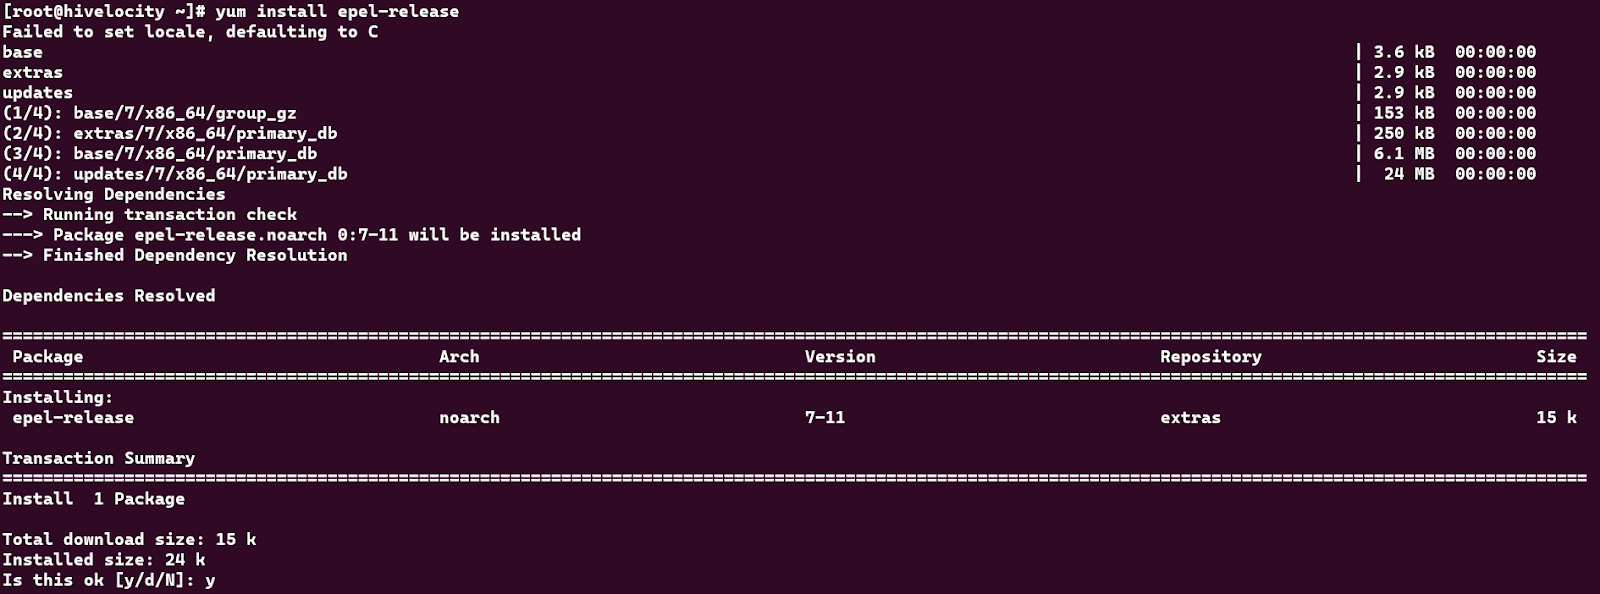
- Once logged in, add/install the EPEL repository with the command:
yum install epel-release
The image below shows what the command and its results should look like.


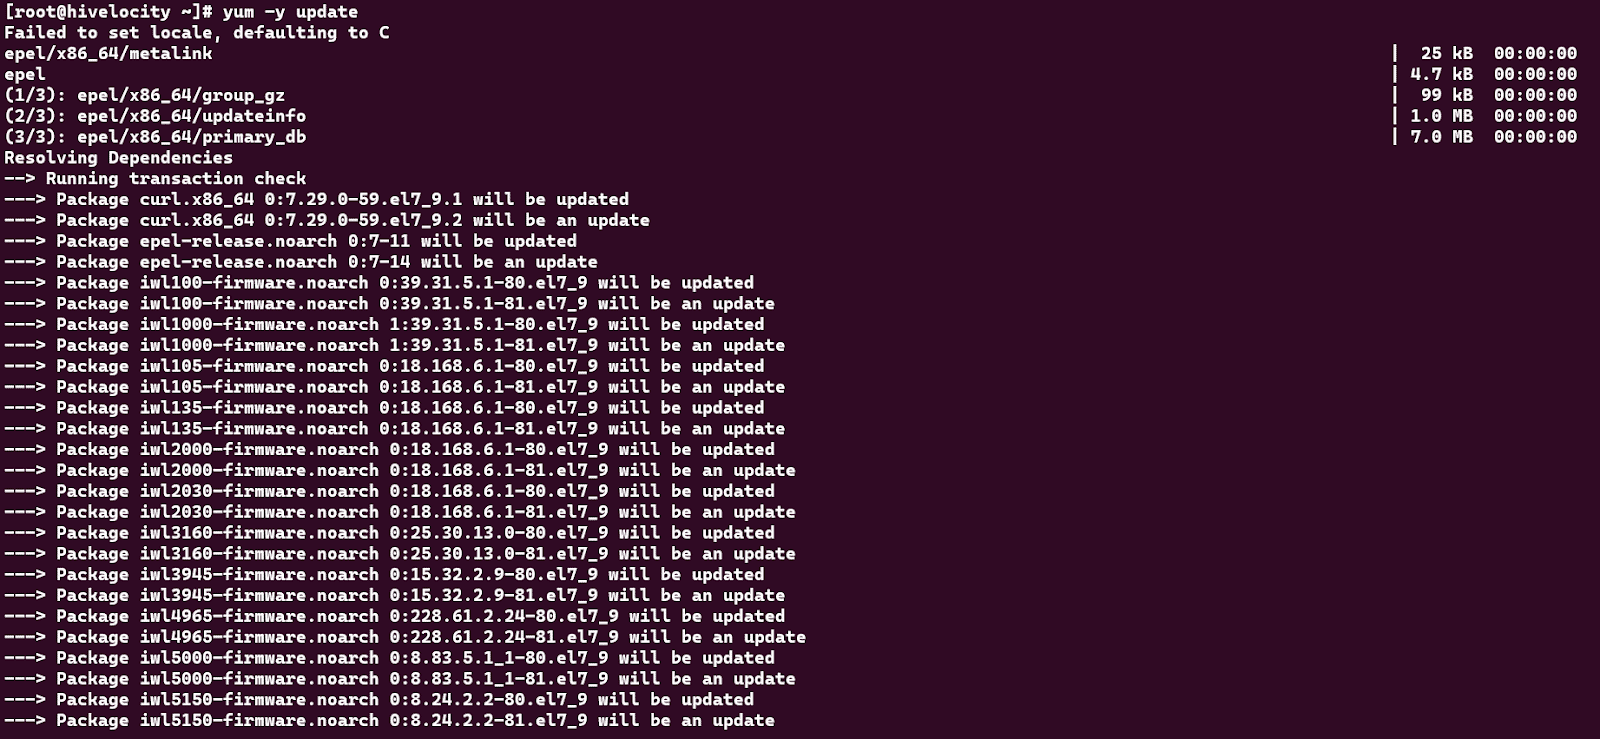
- Update the packages to ensure all recently added repos software is pulled and installed, as well as updating any other out of date software. Use the command below which will update all installed packages without prompting you for approval.
yum –y update

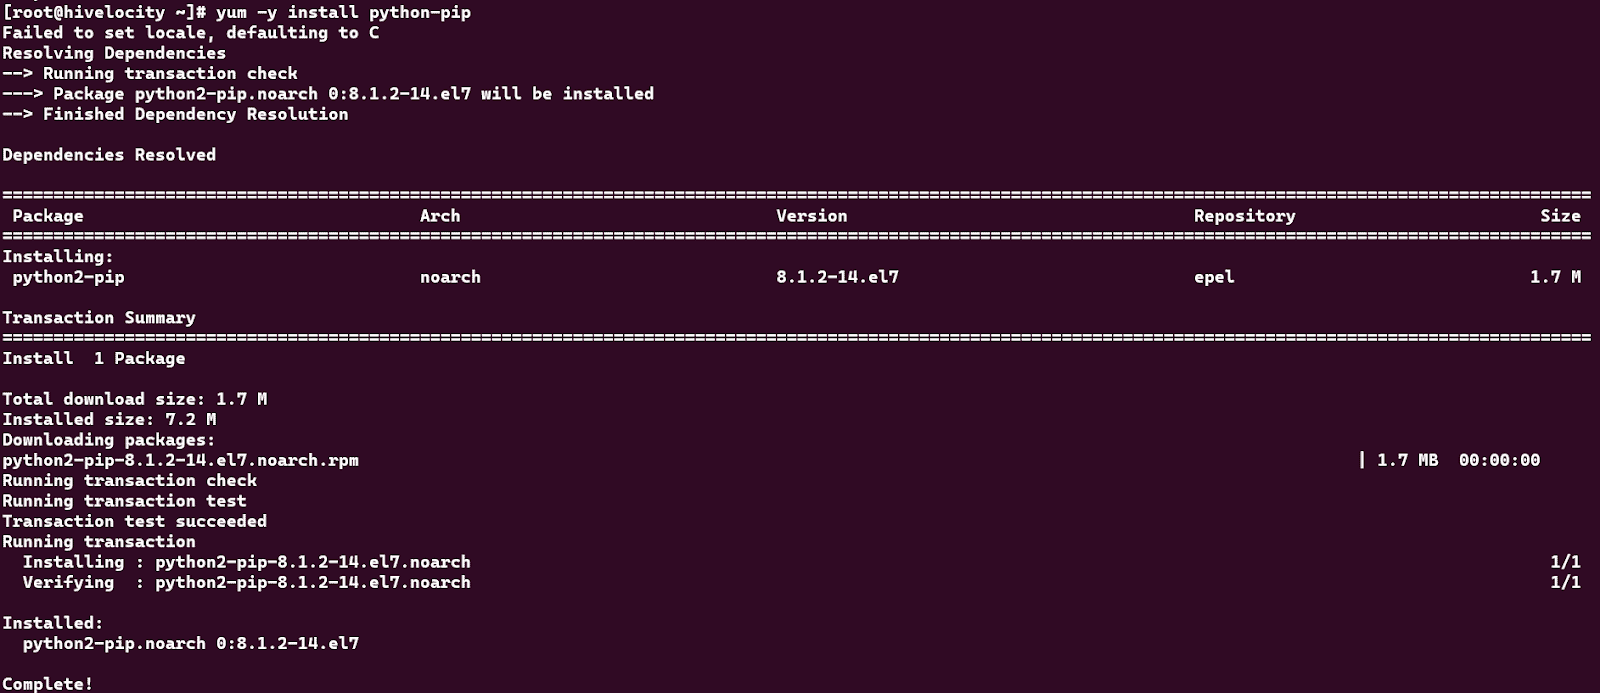
- The last step is to install python-PIP and any other required packages using the command:
yum -y install python-pip

- Now, verify the installation has been completed successfully with the command:
pip –V
If all went well and you are seeing the above output, then you should now be ready to use PIP.
And there you have it! Now that you’ve successfully installed PIP on CentOS, you’re ready to start using python-based software.
Looking for more information on CentOS? Search our Knowledge Base!