When creating a new website, correctly setting your Domain Name System (DNS) records is an essential step. Without records attaching your website’s domain name to your server’s IP address, users won’t be able to find your site through search engines. As a Hivelocity customer, you have the option to use our nameservers for your domain. In this guide, we’ll show you how you can use the myVelocity portal to add a domain for DNS configuration and create DNS records for your website.
*Note: If you’re using Hivelocity’s nameservers, you will want to set the custom nameservers for the domain to ns1.hivelocity.net and ns2.hivelocity.net at your registrar.
Adding Domains with myVelocity
To add a domain using myVelocity, just follow these steps:
- First, you’ll need to log in to your myVelocity portal using your username and password. You can access the myVelocity login page using the following link:
https://my.hivelocity.net/auth/login
- Once you’ve logged in to the myVelocity portal, locate the navigation menu near the top of the page and click the DNS button.
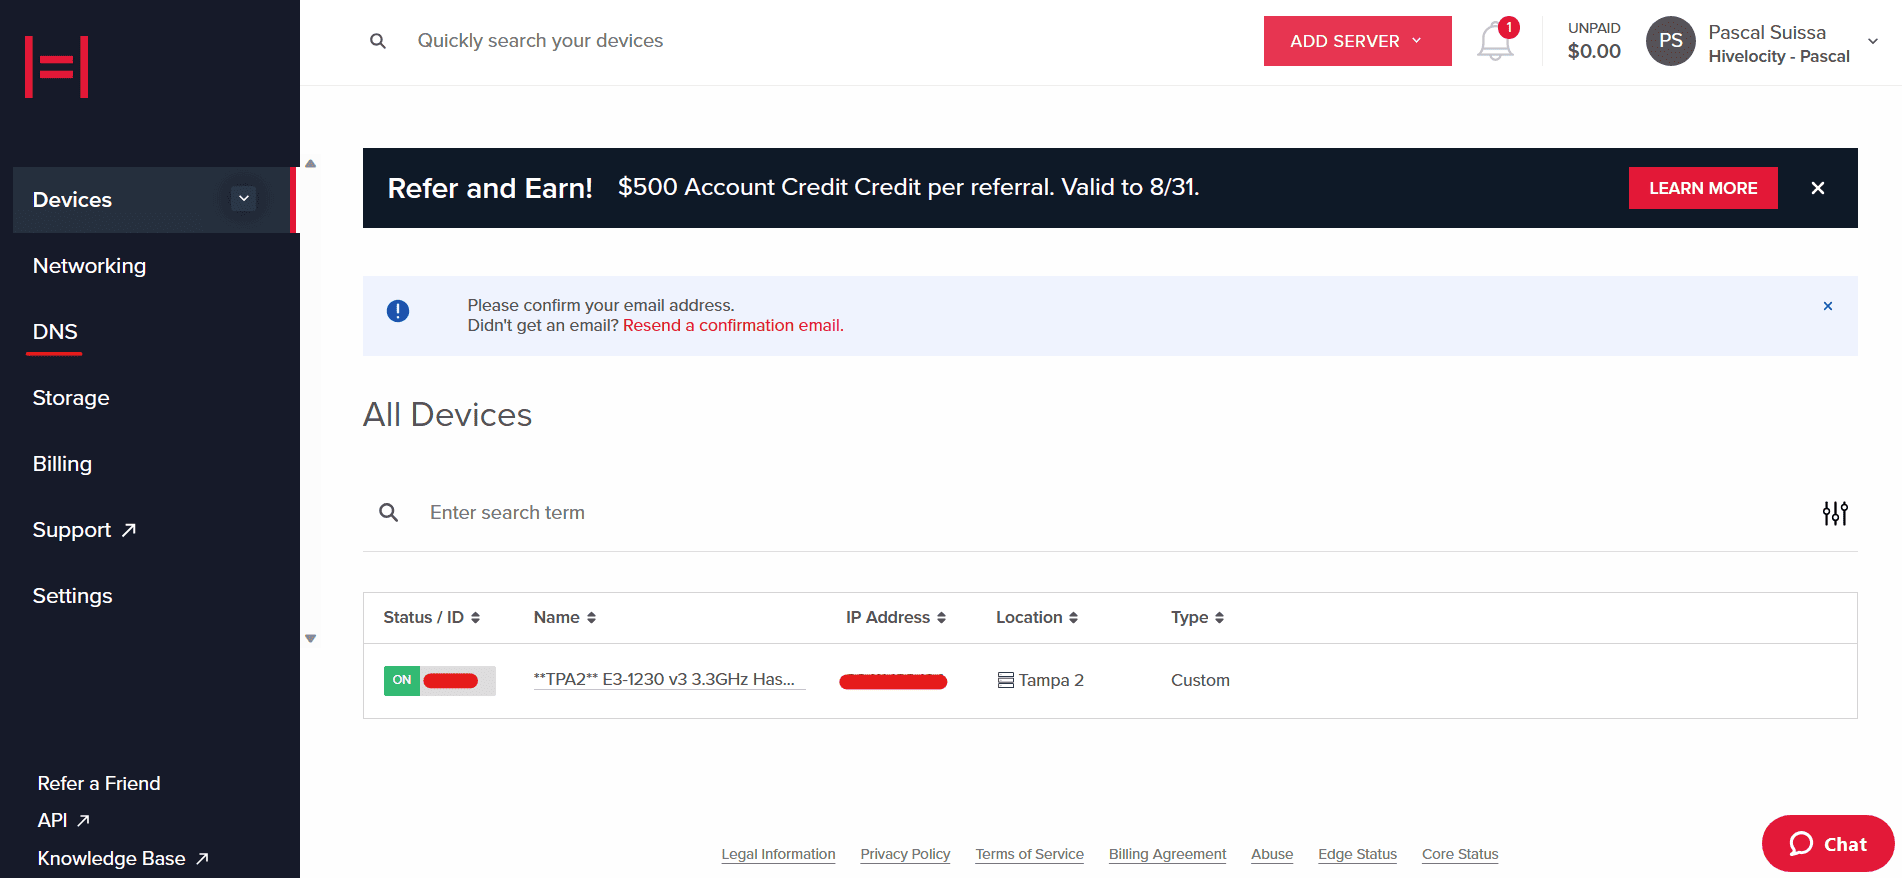
- On the new page that opens, you will be brought to the Domains section of the DNS tab.
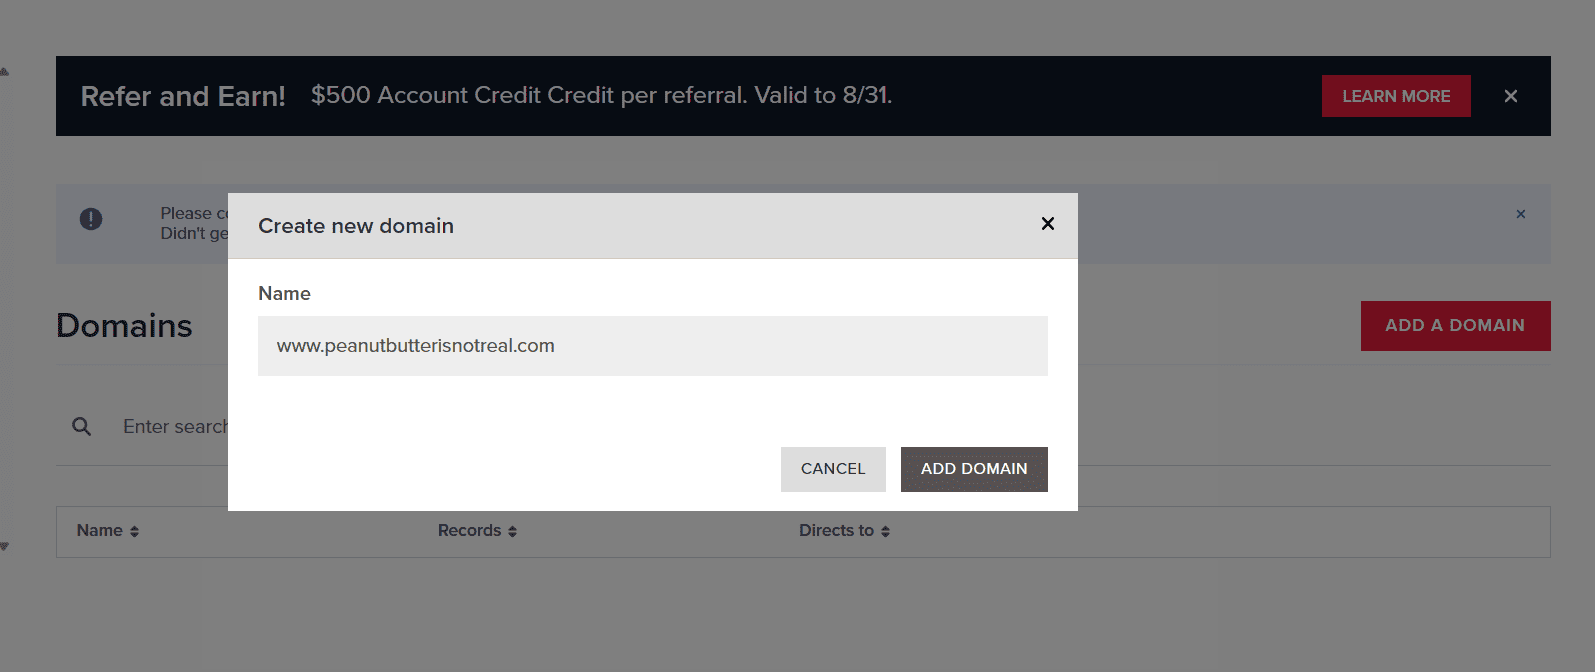
- To add a new domain to the portal, click on the Add Domain button. A box will open with a space to fill in your domain. Once you’ve done so, click the Add Domain button to the right and your DNS zone will be added.
Creating DNS Records in myVelocity
Now that we’ve added the domain to the portal we can add records to the DNS zone. To add DNS records, just follow these steps:
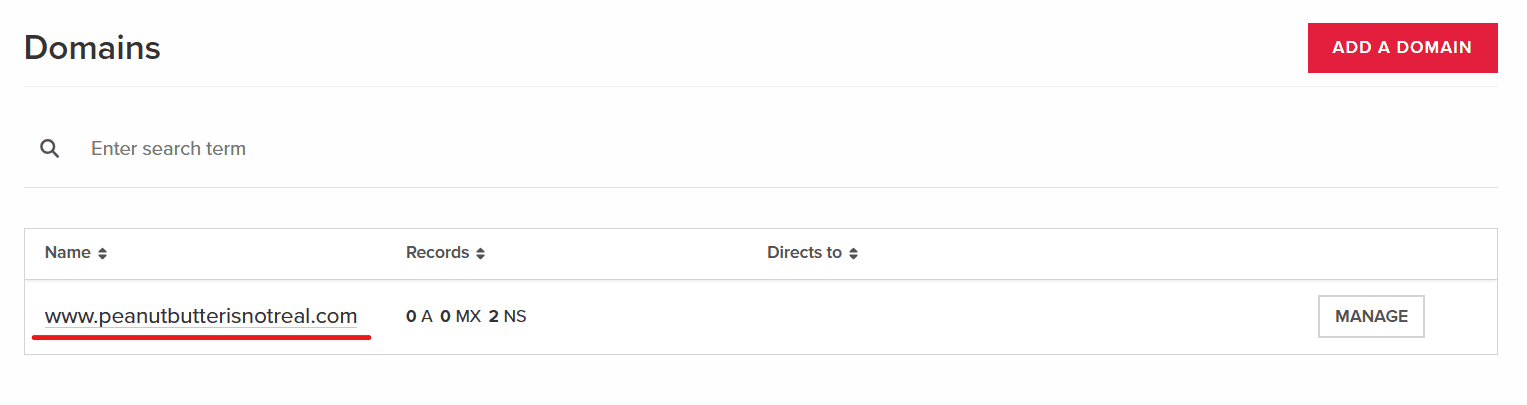
- First, click on your newly added domain to open the record configuration interface. On this page you’ll be able to create all the records you need for your domain and its supporting services, such as email.
- To start, let’s go ahead and configure an A Record for the domain.
- Under the A tab click Add A record to begin.
- A pop up box will open showing an entry for Hostname, IP address, and TTL.
- By default, TTL will be filled with 3600. This does not have to be changed but you are welcome to set any TTL you see fit.
- For the Hostname, if you are using the root domain, use @.
- Finally, add the IP Address of the server the domain is configured to respond to.
- Under the A tab click Add A record to begin.
- Once all that information is filled in, click Add Record to submit your newly created record. You will need to select which record by pressing the relevant tab to the left.

*Note: As with any DNS changes, it takes time for propagation to finalize. Once it has completed and the A record shows across the world, you’ll be able to ping the domain the record was created for and return the correct IP address.
And there you have it! Your DNS zones are established and you now know how to create records using the myVelocity portal.
