What is IPMI?
IPMI is a useful feature on your device that allows you to remote control your server regardless of if it has an internet connection. Instances in which you might want to use IPMI include checking why a server is not responding or if you want to load and mount a different ISO to it. Hivelocity customers are of course welcome to reach out to our support as well if you’d like us to help investigate any issues you’re experiencing, but if you’d like to know how to gain access to your server yourself via IPMI, then the following instructions will guide you through the process.
To access IPMI, you need to go to the customer portal at https://my.hivelocity.net/ and click the Devices tab, then select which of your device you’d like to remote control and go to the Sensors tab. There you will find an IPMI access button which will provide you with the necessary credentials and add your IP temporarily for access. The process is relatively straightforward, but for those who’d prefer step-by-step instructions, we’ve broken the entire process down into steps below.
Steps to Gain IPMI Access to Your Server
The following procedure breaks down the process for accessing your server via IPMI into 6 easy steps.
- First, log in to your account at my.hivelocity.net/auth/login
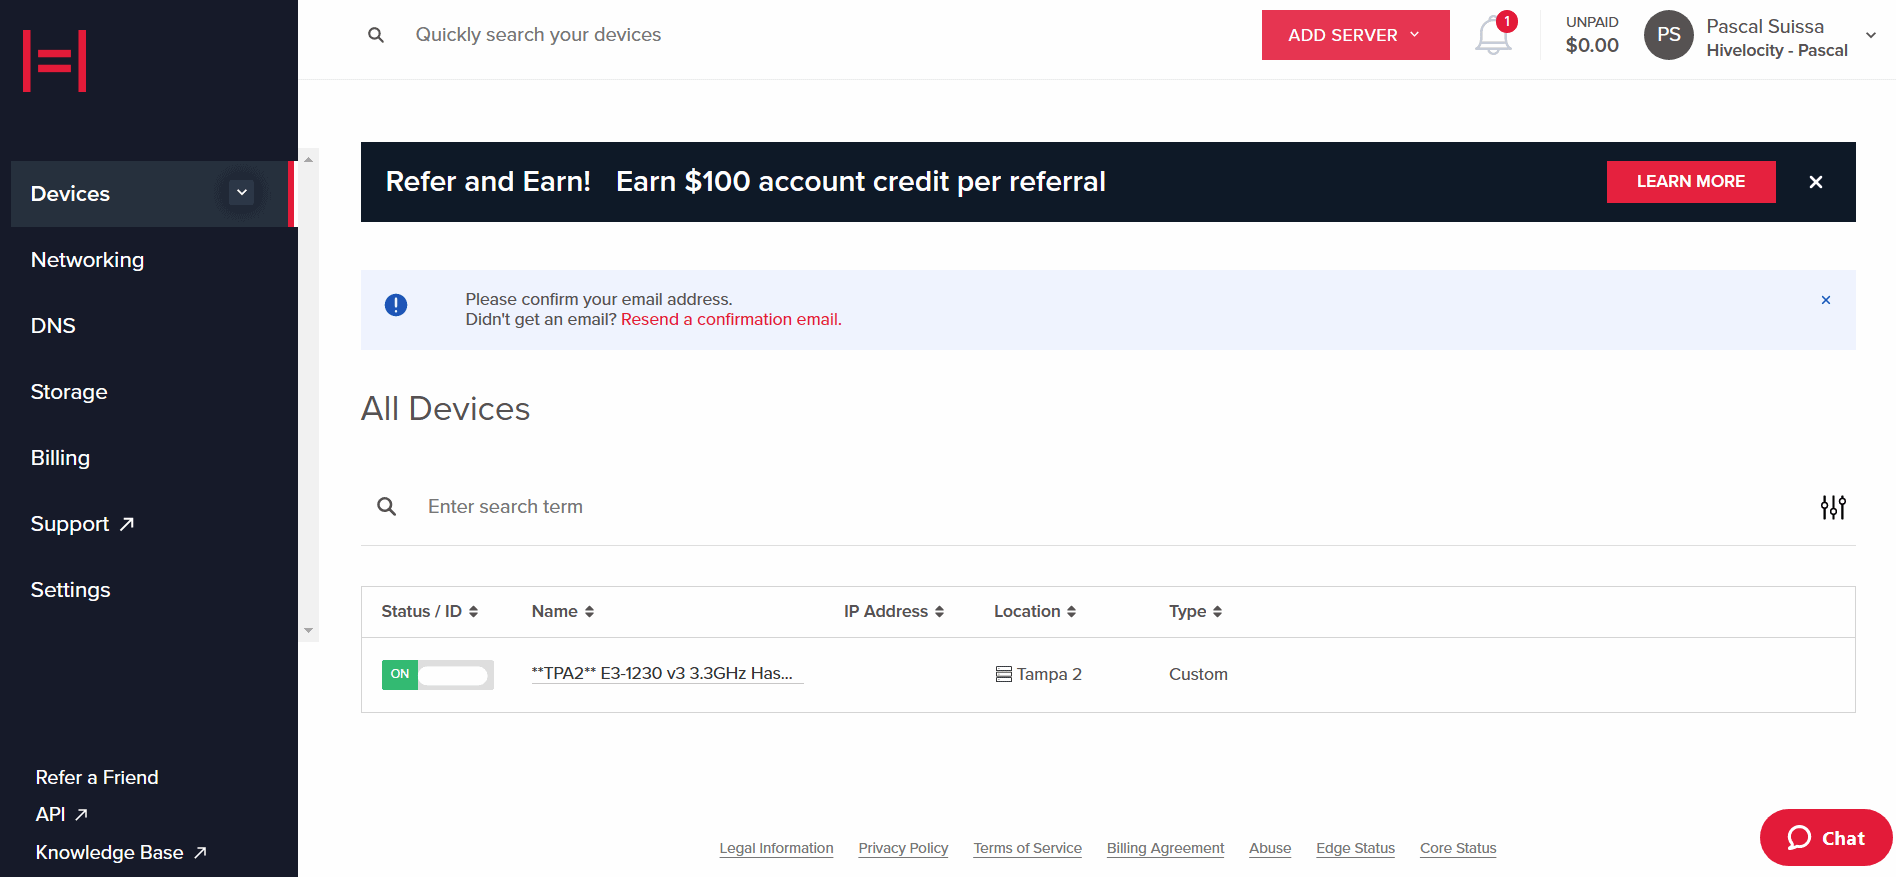
- Once you’re logged in, click on the Devices tab on the left and select the device you wish to access using IPMI from the list of available devices.
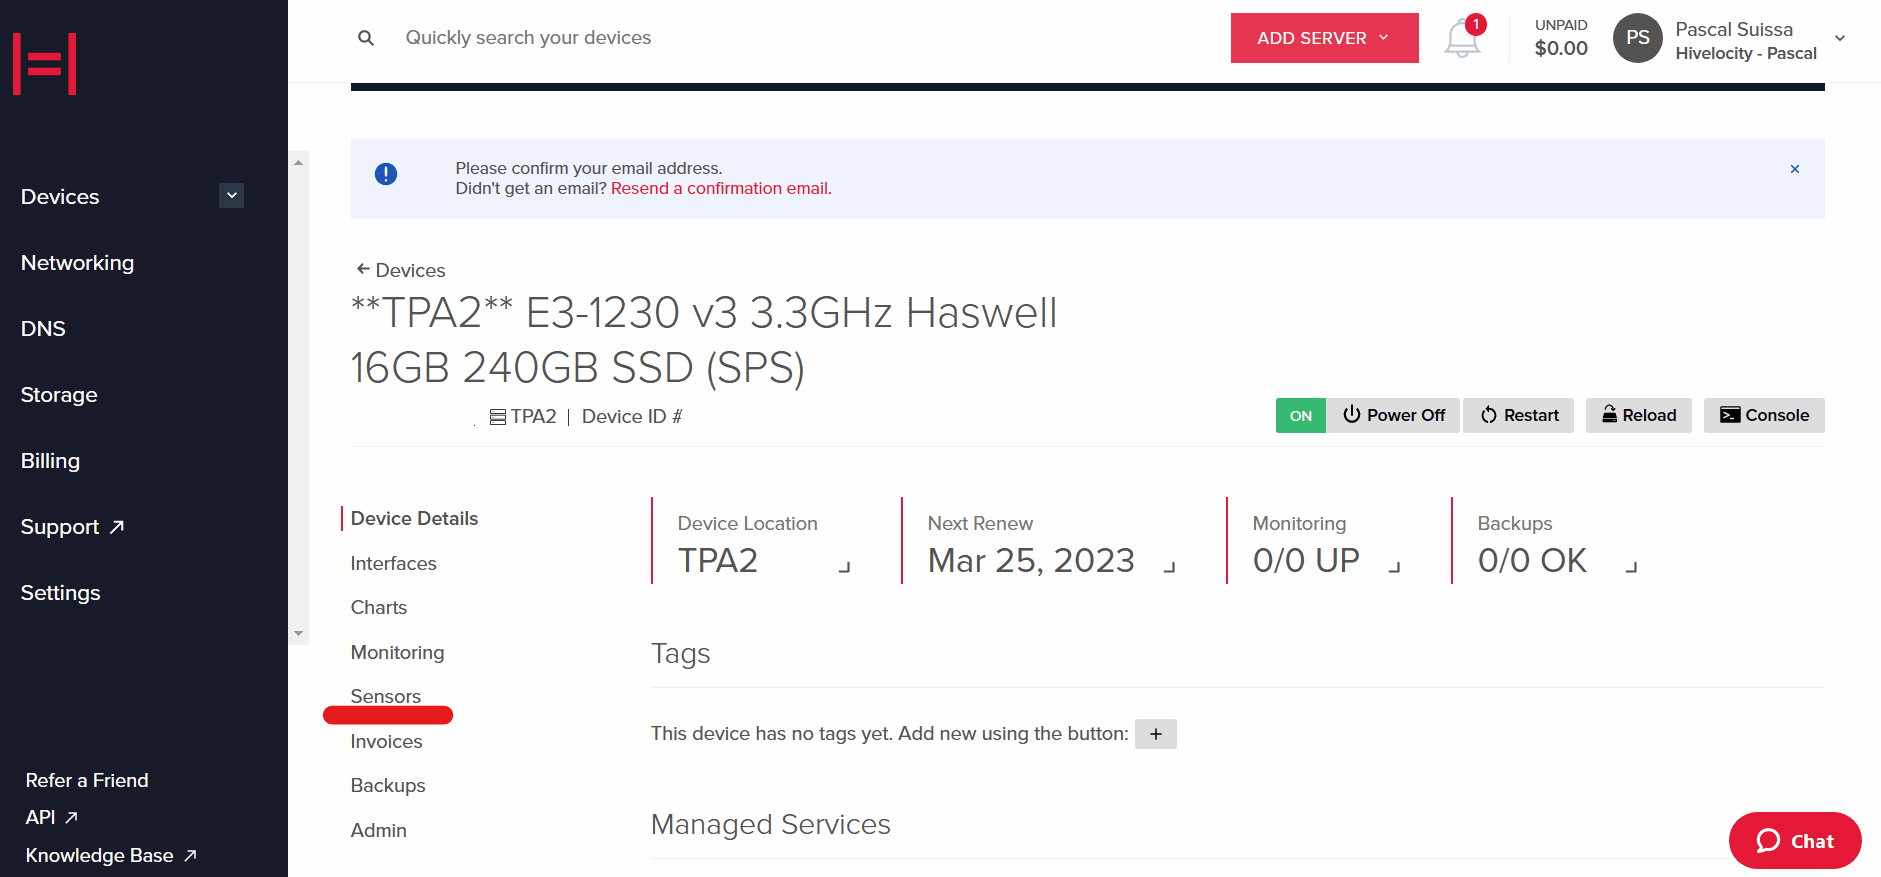
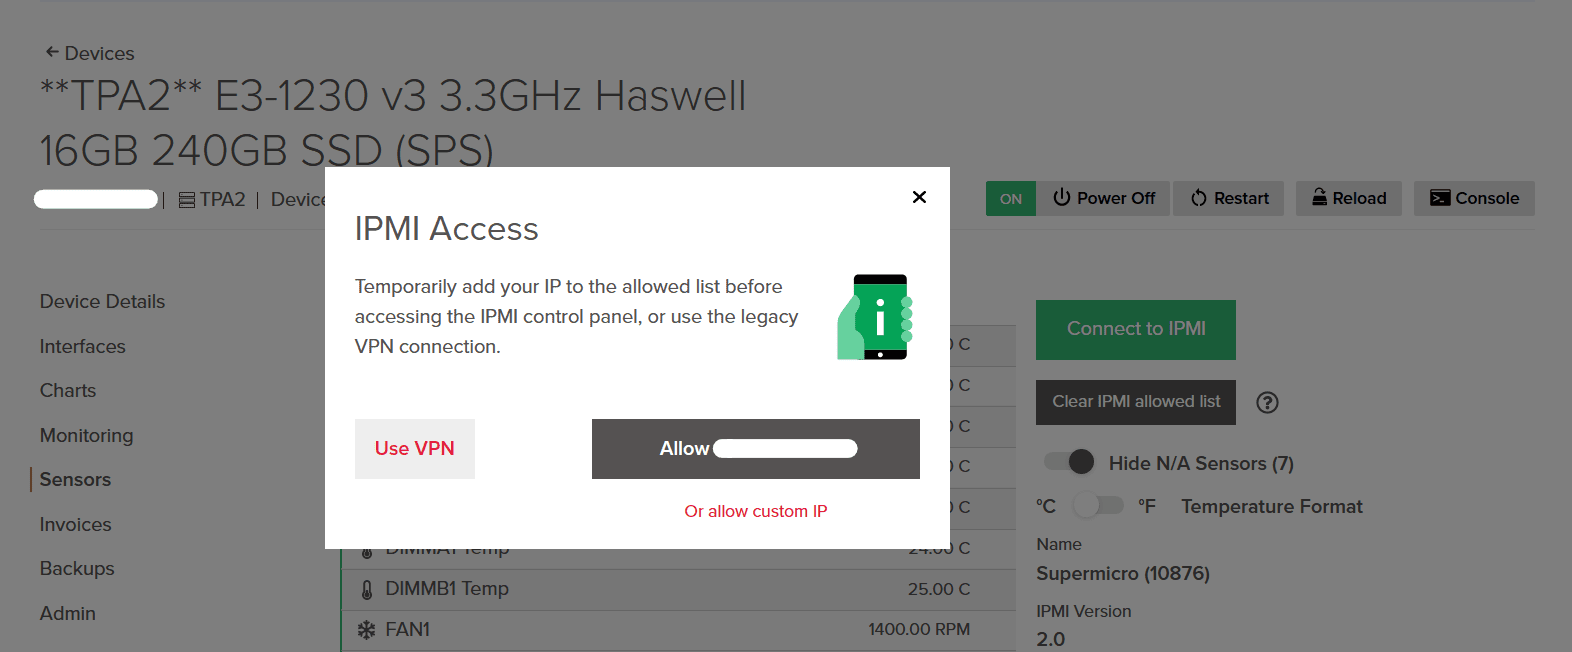
- Next, click on the Sensors tab as shown below.
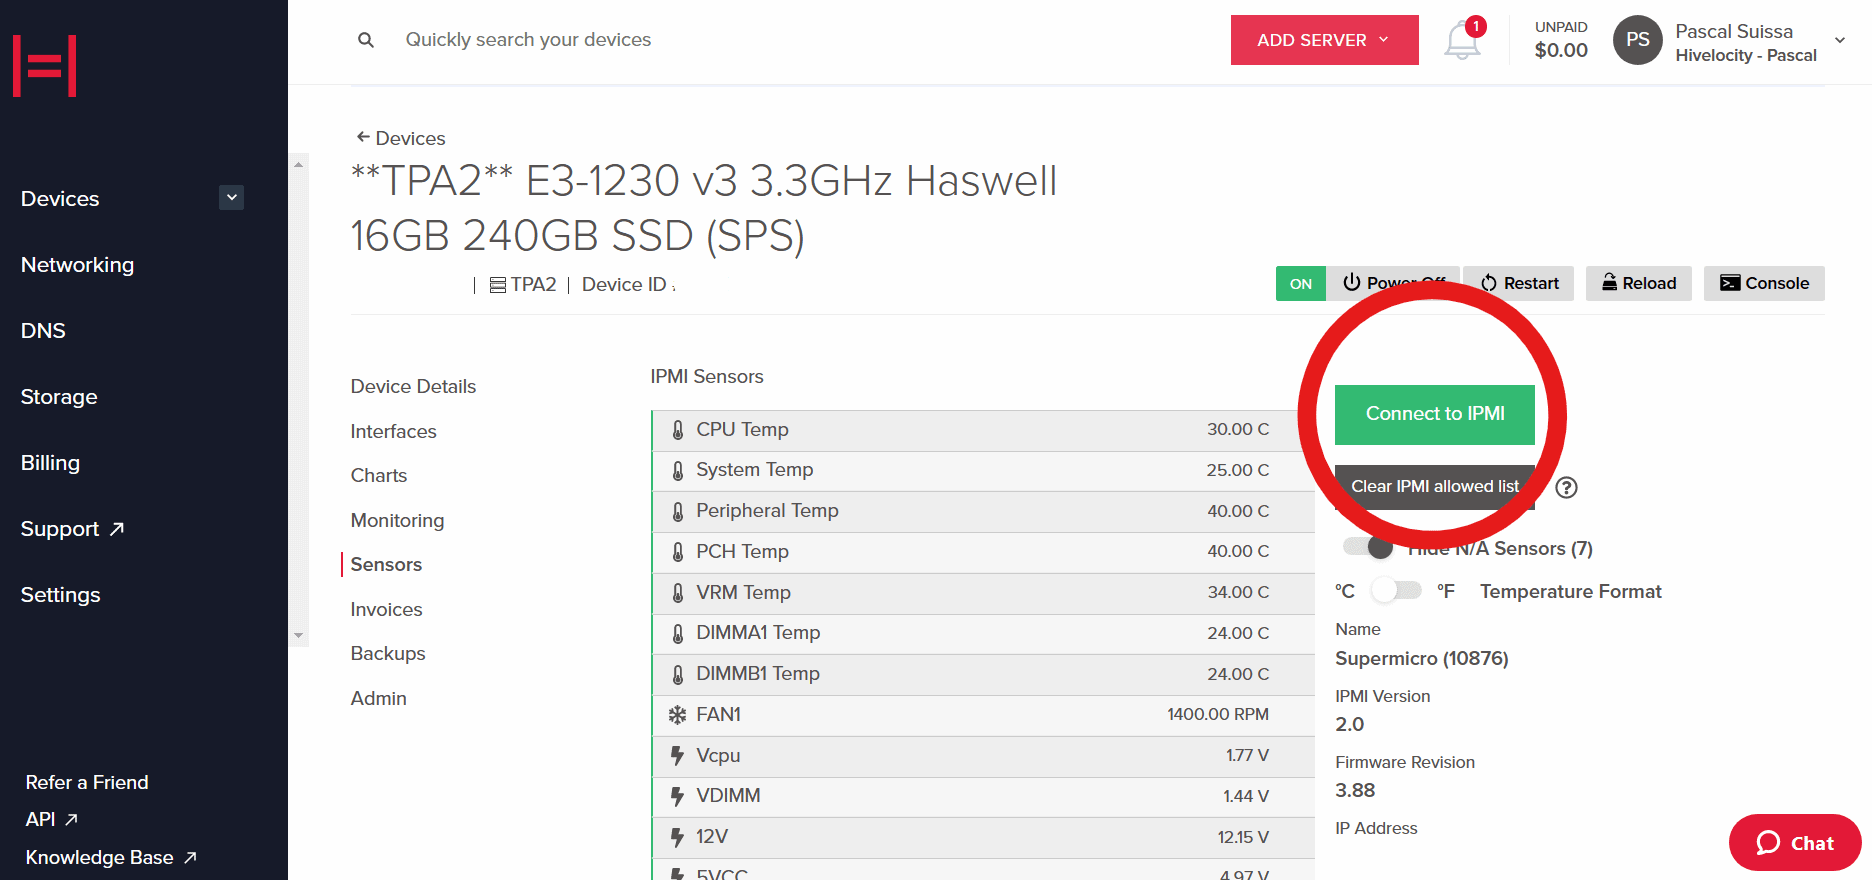
- From here, click on the Connect to IPMI button on the right side of your screen.
- At this point, you can now connect to IPMI using one of two different methods:
- The first method involves temporarily allowing your IP through the IPMI network by adding it to the allowed list. This gives you access for a limited time of 12 hours. To do this, simply click on the Allow IP button.
- After a few moments, the red text to “Show my IPMI Credentials” will appear. click this to reveal your user credentials as shown below.
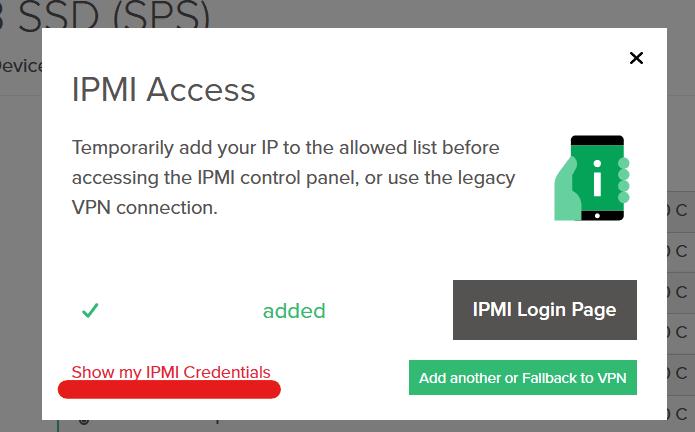
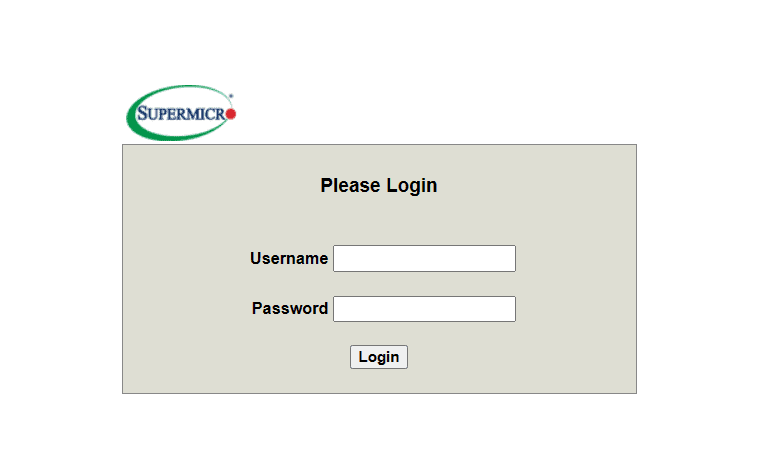
- Now, press the IPMI Login Page button to open the IPMI page and proceed with your credentials as shown below.
- After a few moments, the red text to “Show my IPMI Credentials” will appear. click this to reveal your user credentials as shown below.
- The second method involves using the VPN option as shown below.
- By pressing the Use VPN button you will be presented with further instructions on how to proceed, as shown in the image below.
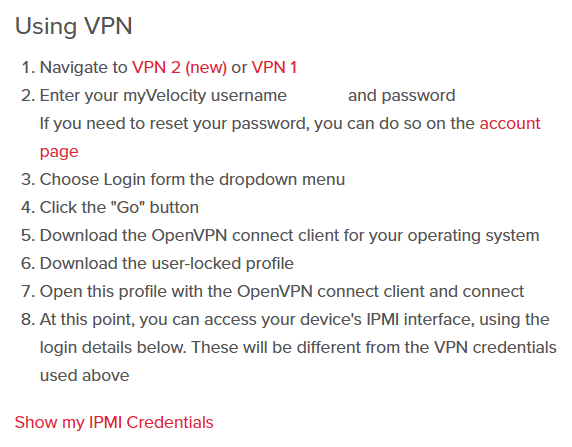
- By pressing the Use VPN button you will be presented with further instructions on how to proceed, as shown in the image below.
- The first method involves temporarily allowing your IP through the IPMI network by adding it to the allowed list. This gives you access for a limited time of 12 hours. To do this, simply click on the Allow IP button.
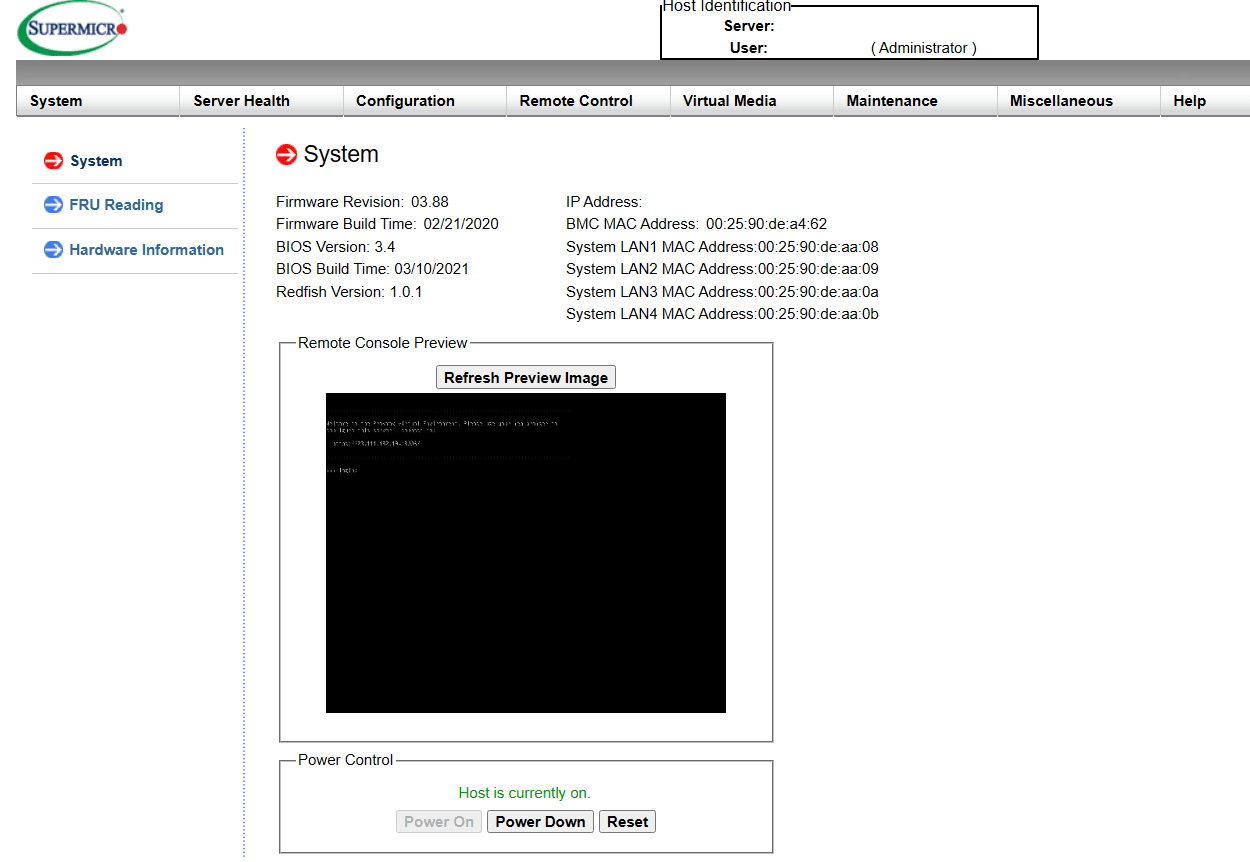
- After using one of the two methods described above, you should now be able to remotely view your system and perform tasks such as loading ISOs, reviewing event logs, and checking hardware information.
*PLEASE NOTE: you must connect to the VPN prior to accessing the IPMI web UI or have added your IP to the allow list as shown in the steps above.
Congratulations! You have successfully logged into your server’s IPMI. You can now do things like reboot and console your server as if you were standing directly in front of it.
For more information regarding usage of the IPMI system, check the following user’s guide published by the manufacturer: https://www.supermicro.com/manuals/other/IPMI_Users_Guide.pdf
— Written by Pascal Suissa
